Configuring automatically assessed Jupyter Notebook labs
If a Jupyter Notebook lab fully consists of automatically assessed tasks, it is considered automatically assessed and learners get the result immediately after they submit their answers. To configure automatically assessed tasks:
- In the Jupyter Notebook lab you created, open the .ipynb file. Start adding the lab content.
- Add a cell with a task. Select the Markdown content type for this cell.

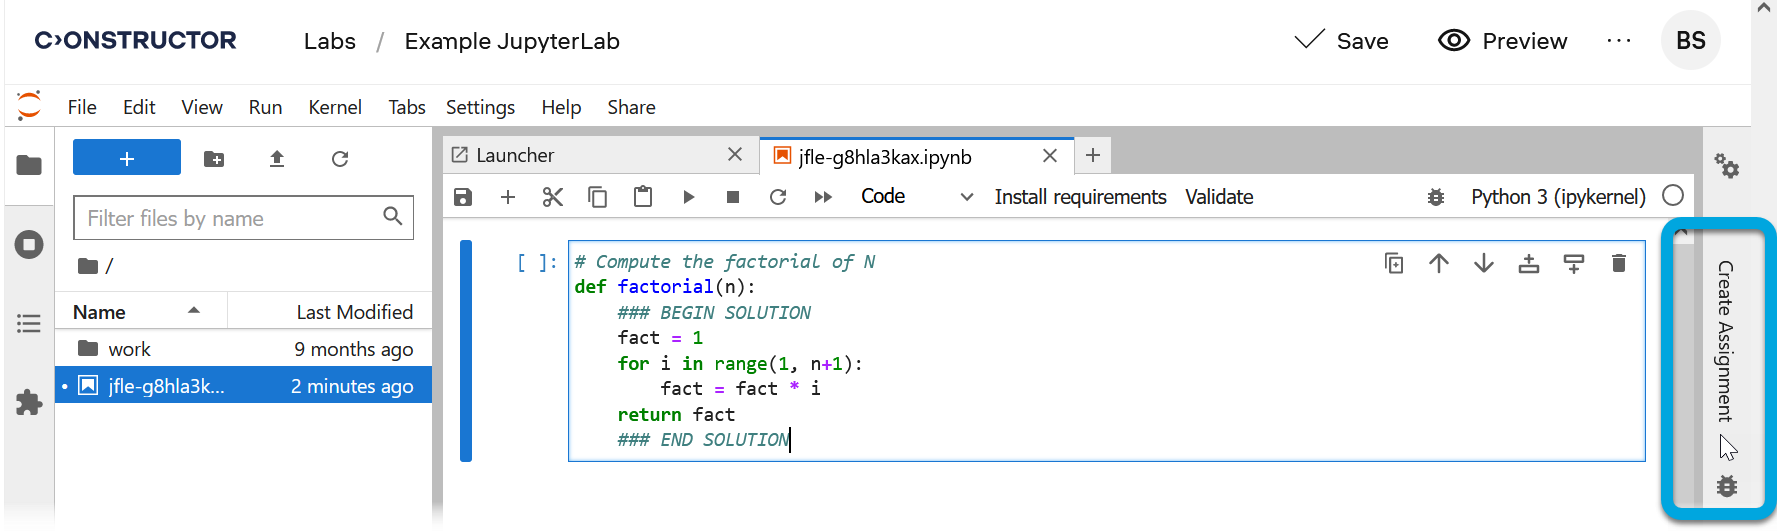
- Add a cell for the learner's input (answer) and leave it selected. Select the Code content type for this cell.
- Click Create Assignment on the rightmost bar.
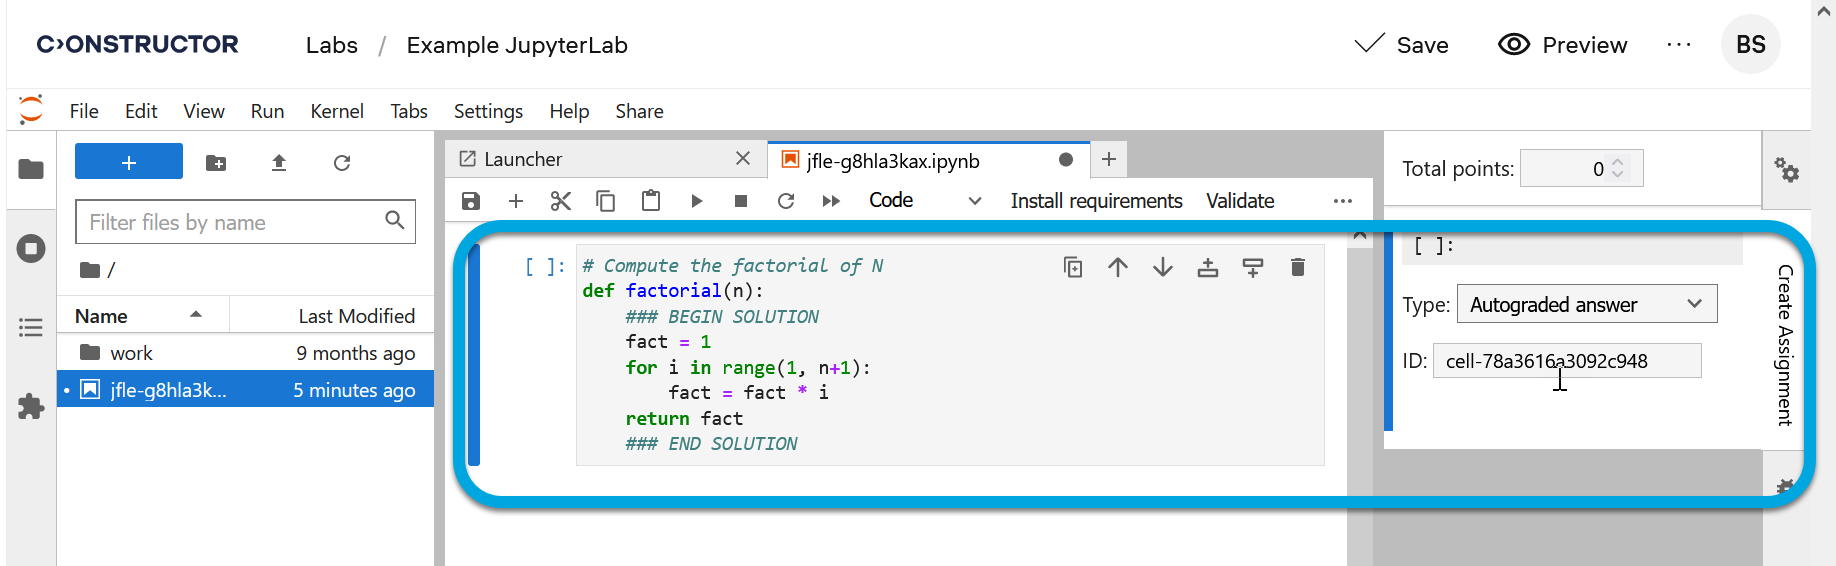
- Locate the assignment corresponding to the selected cell (it will be highlighted).
- In the Type list, select Autograded answer to indicate that this cell must be checked by autotests.
| Information | You can enter the whole correct answer text into this cell, but place its part that you want to hide from learner between the ### END SOLUTION and ### END SOLUTION comments. |
[
](./assets/coding-lab-author-guide-1/Video/CodingLab/JupLabAutogradedAnswer.mp4)
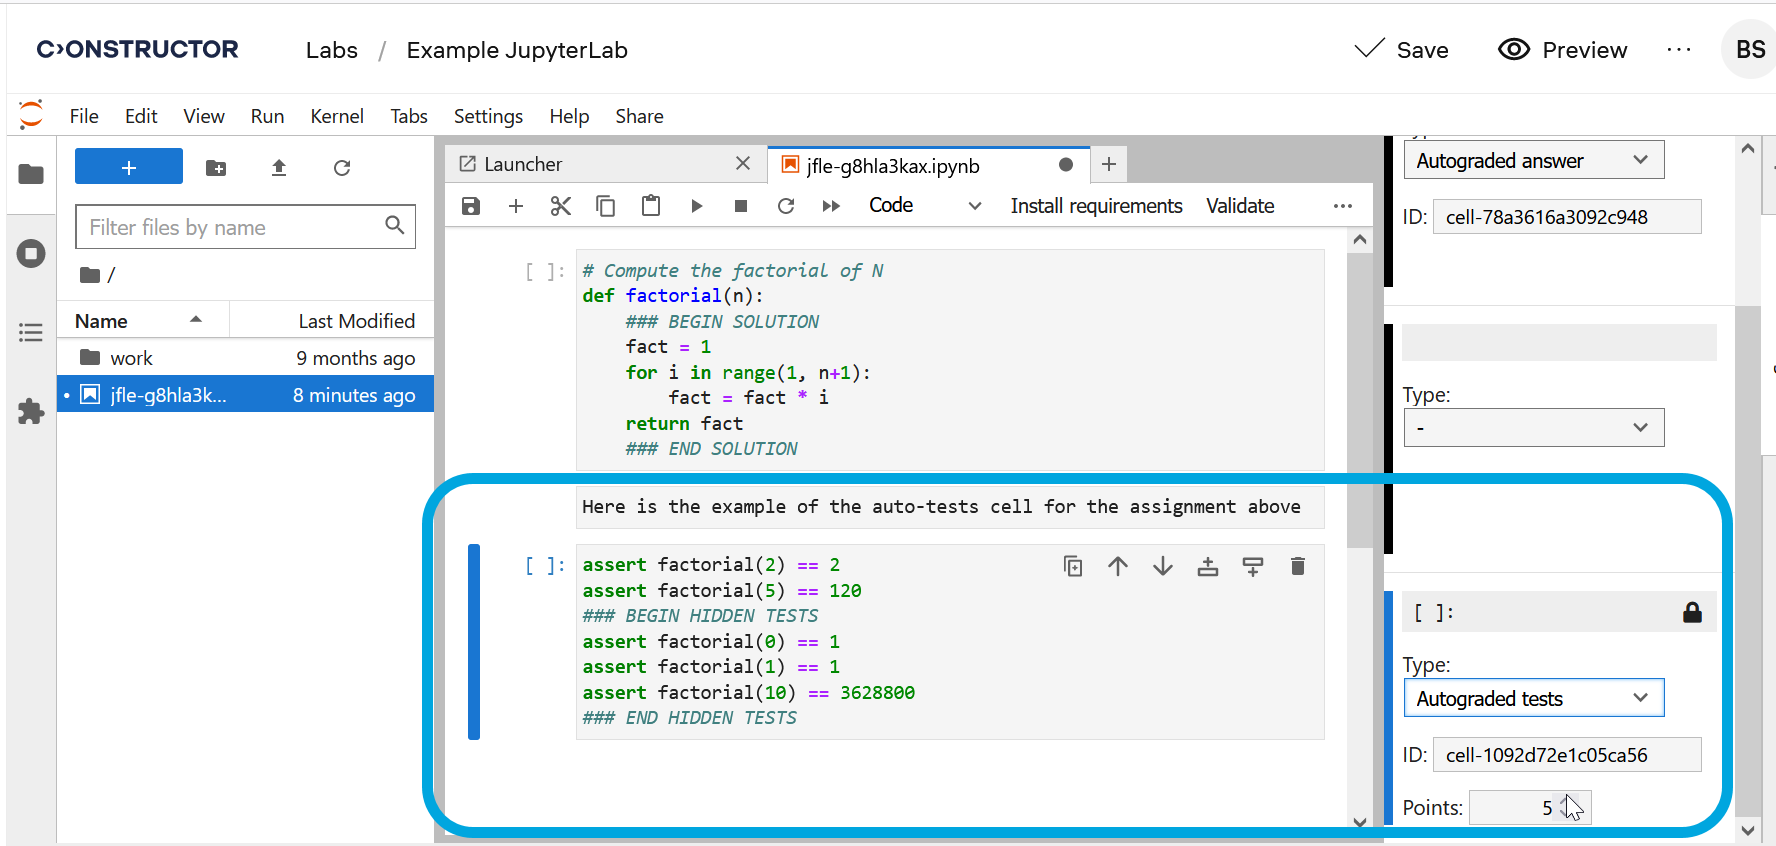
- Add a cell and type into it the code (a test or several tests) to automatically check the learner's input. Leave the cell selected. Select the Code content type for this cell.
- In the Create Assignment bar, locate the assignment corresponding to the selected cell.
- In the Type list, select Autograded tests to indicate that the tests from this cell must check the learner's answer in the Autograded answercell. In the Points field, specify the maximum score for the correct answer.
[
Your browser does not support the video tag. ](./assets/coding-lab-author-guide-1/Video/CodingLab/JupLabAutogradedTests.mp4)
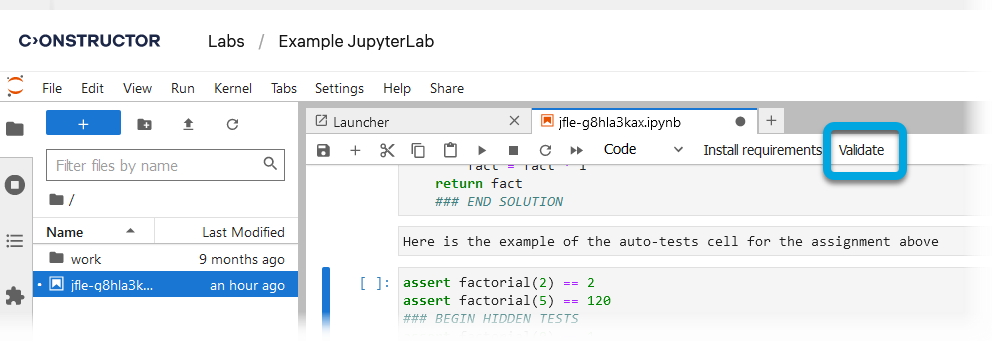
To check all the autotests in the lab, click Validate. This option checks all the solutions that you added and tests checking them.
See also '“Autograded answer” cells' and '“Autograder tests” cells' in the nbgrader documentation.