Taking Live-reviewed exams in web browsers
Read this section for the information on how to prepare for and take exams with Live-review proctoring in web browsers.
The supported web browsers are:
- Google Chrome
- Microsoft Edge
Before your exam
- Ensure you are using a supported browser, such as Google Chrome or Microsoft Edge, and that it is updated.
- Change the OS security settings to allow access to the webcam and microphone:
- Prepare your workspace
Sign up for the exam on the calendar (optional)
If a scheduled exam requires you to book a slot in the calendar, do this according to the instructions below. If you are already enrolled in a time slot or no calendar enrollment is required, skip to Start the exam section of this guide.
- Log in to your LMS account.
- Open the test assigned to you.
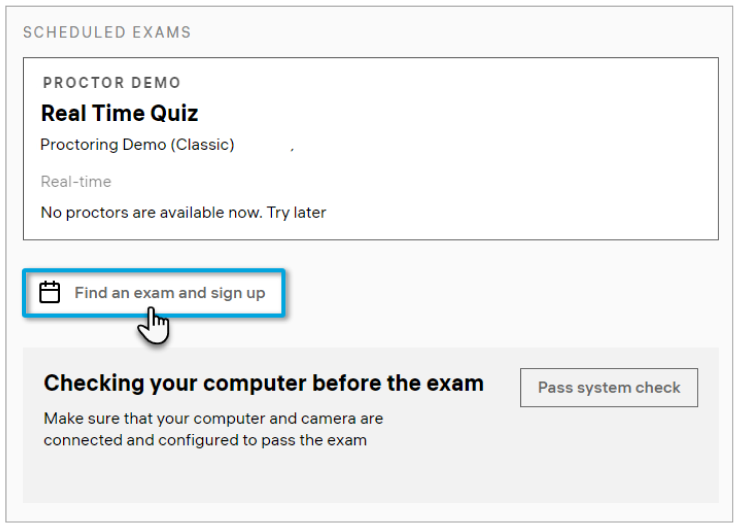
- Click Find an exam and sign up:
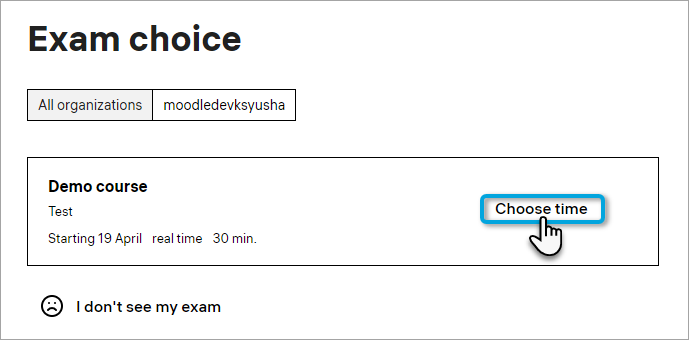
- Find your exam in the list and click Choose time:
- Choose the day and time when you want to take the exam. Click on an available time slot:
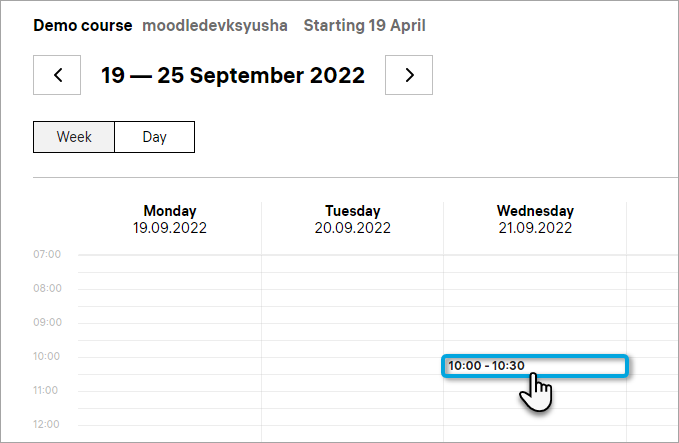
Note: If there are no time slots on the calendar, contact the exam organizer.
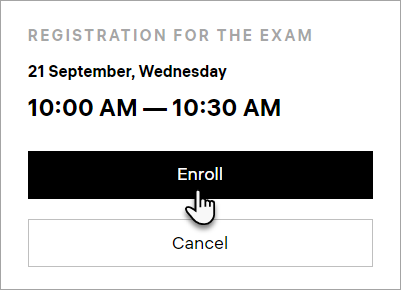
- Click Enroll in the popup window:
- After you successfully signed up for the slot, the exam will appear in the side panel:

- If you need to cancel the calendar enrollment, click the Delete icon:
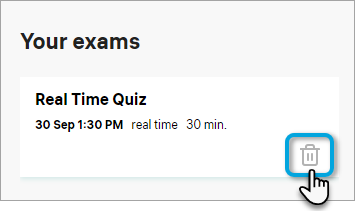
Note: You can cancel your calendar entry no later than 24 hours before the exam.
Starting your exam
Sign in to the platform with the proctored exam. The link to it should be sent to you by your organization.
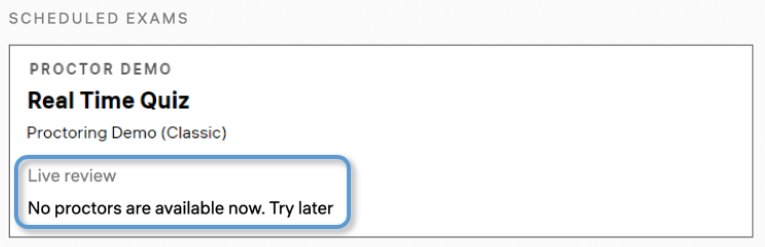
Start the exam. If you see the “No proctors available now. Try later” message, wait for 2–3 minutes and refresh the browser tab.
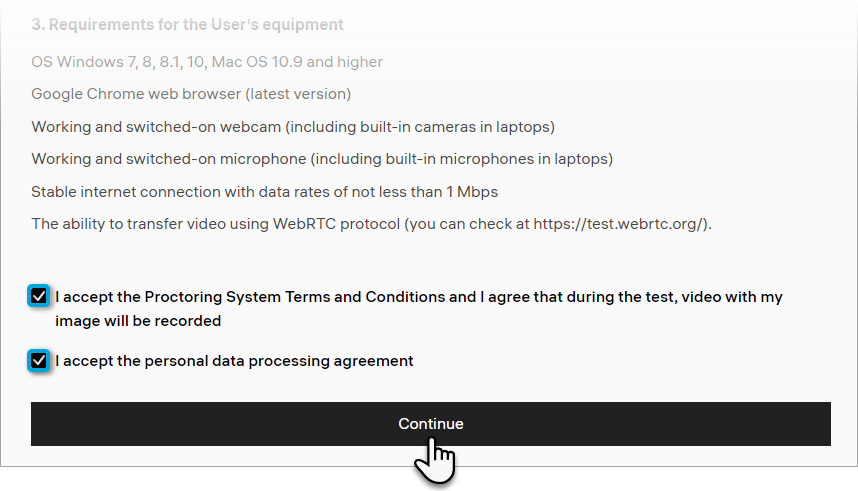
After a proctor joins the session, you will be redirected to the Terms & Conditions page.Read and accept the Terms & Conditions, then click Continue:
After that, a system check will take place to test your computer's camera, microphone, and screen sharing capabilities.
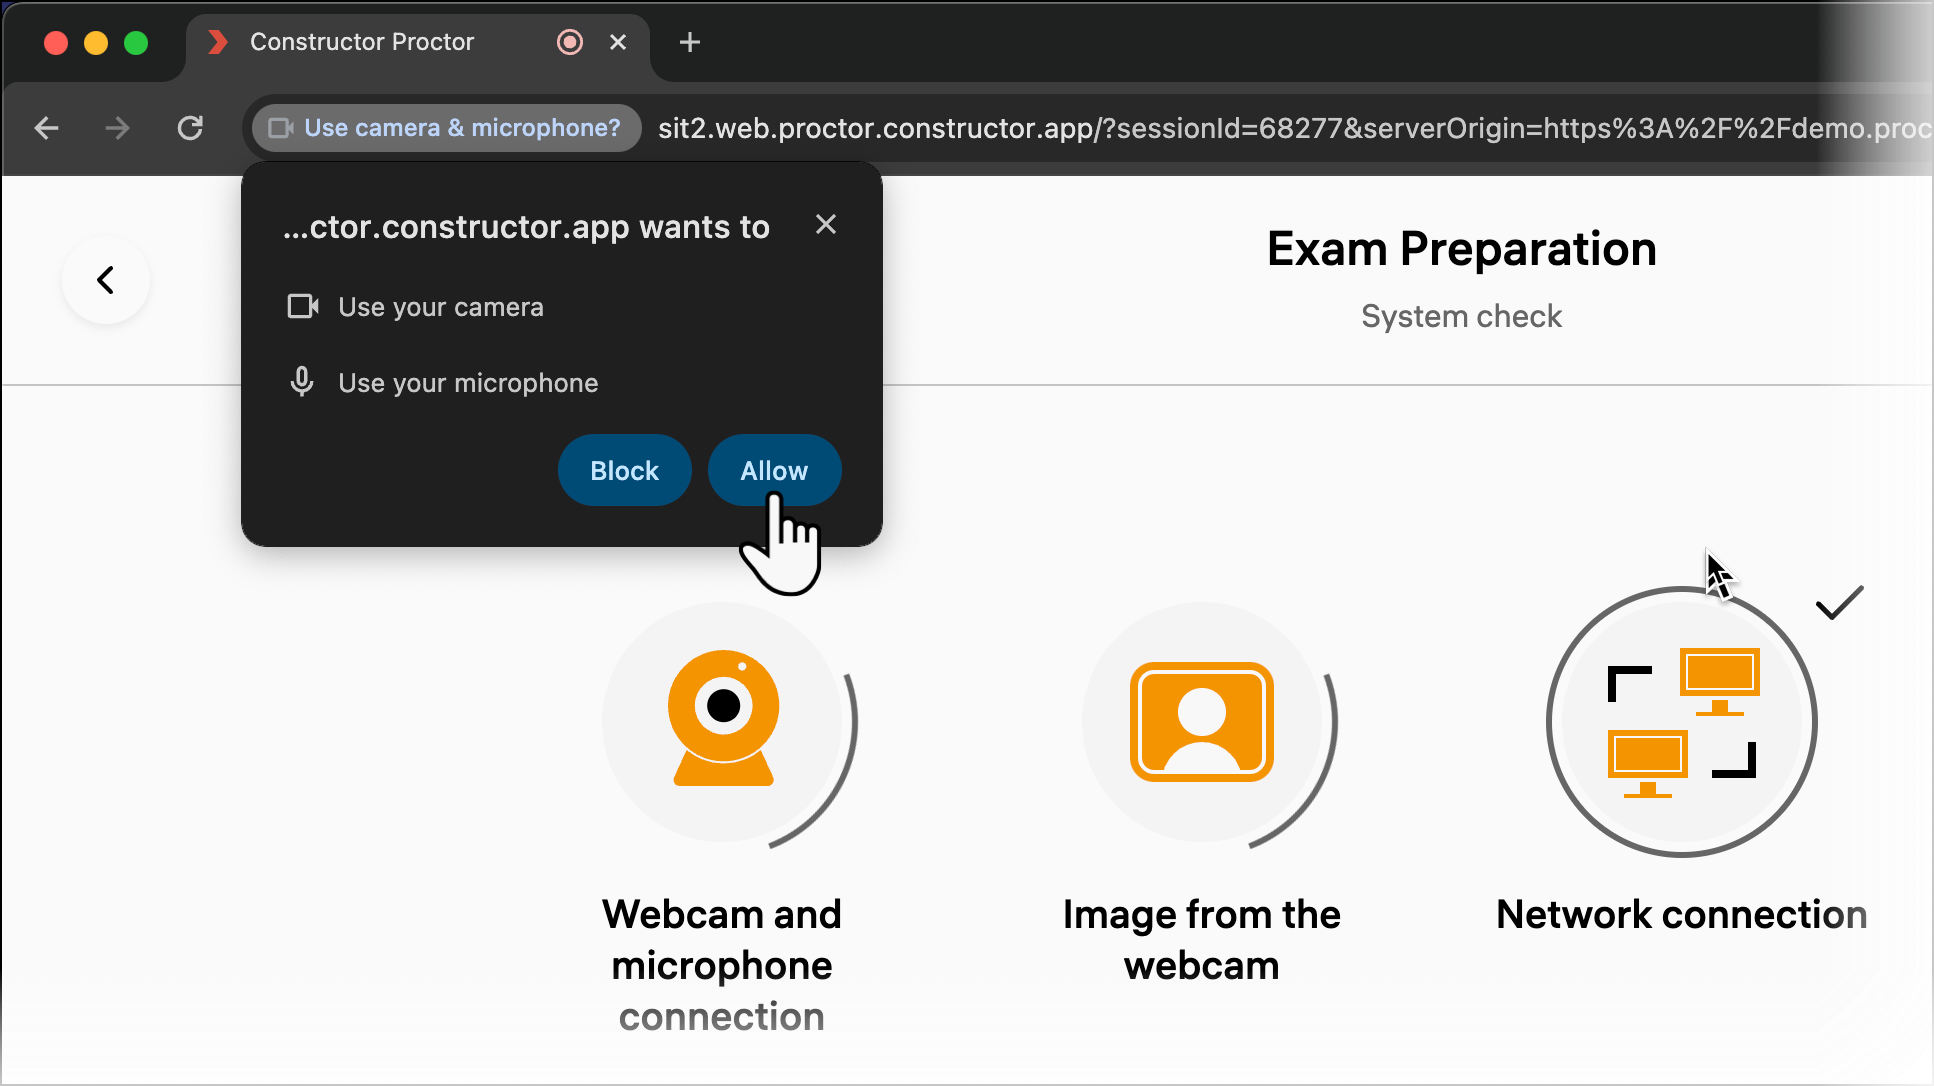
System check
Allow screen sharing: select the screen with proctoring and click Share.

In the pop-up window, click Allow to grant access to your camera and microphone to Constructor Proctor.
Note: The data from your microphone, webcam and screen will be recorded until the end of the exam or until the Constructor Proctor tab is closed.
Wait for all system check stages to finish, then click Next.
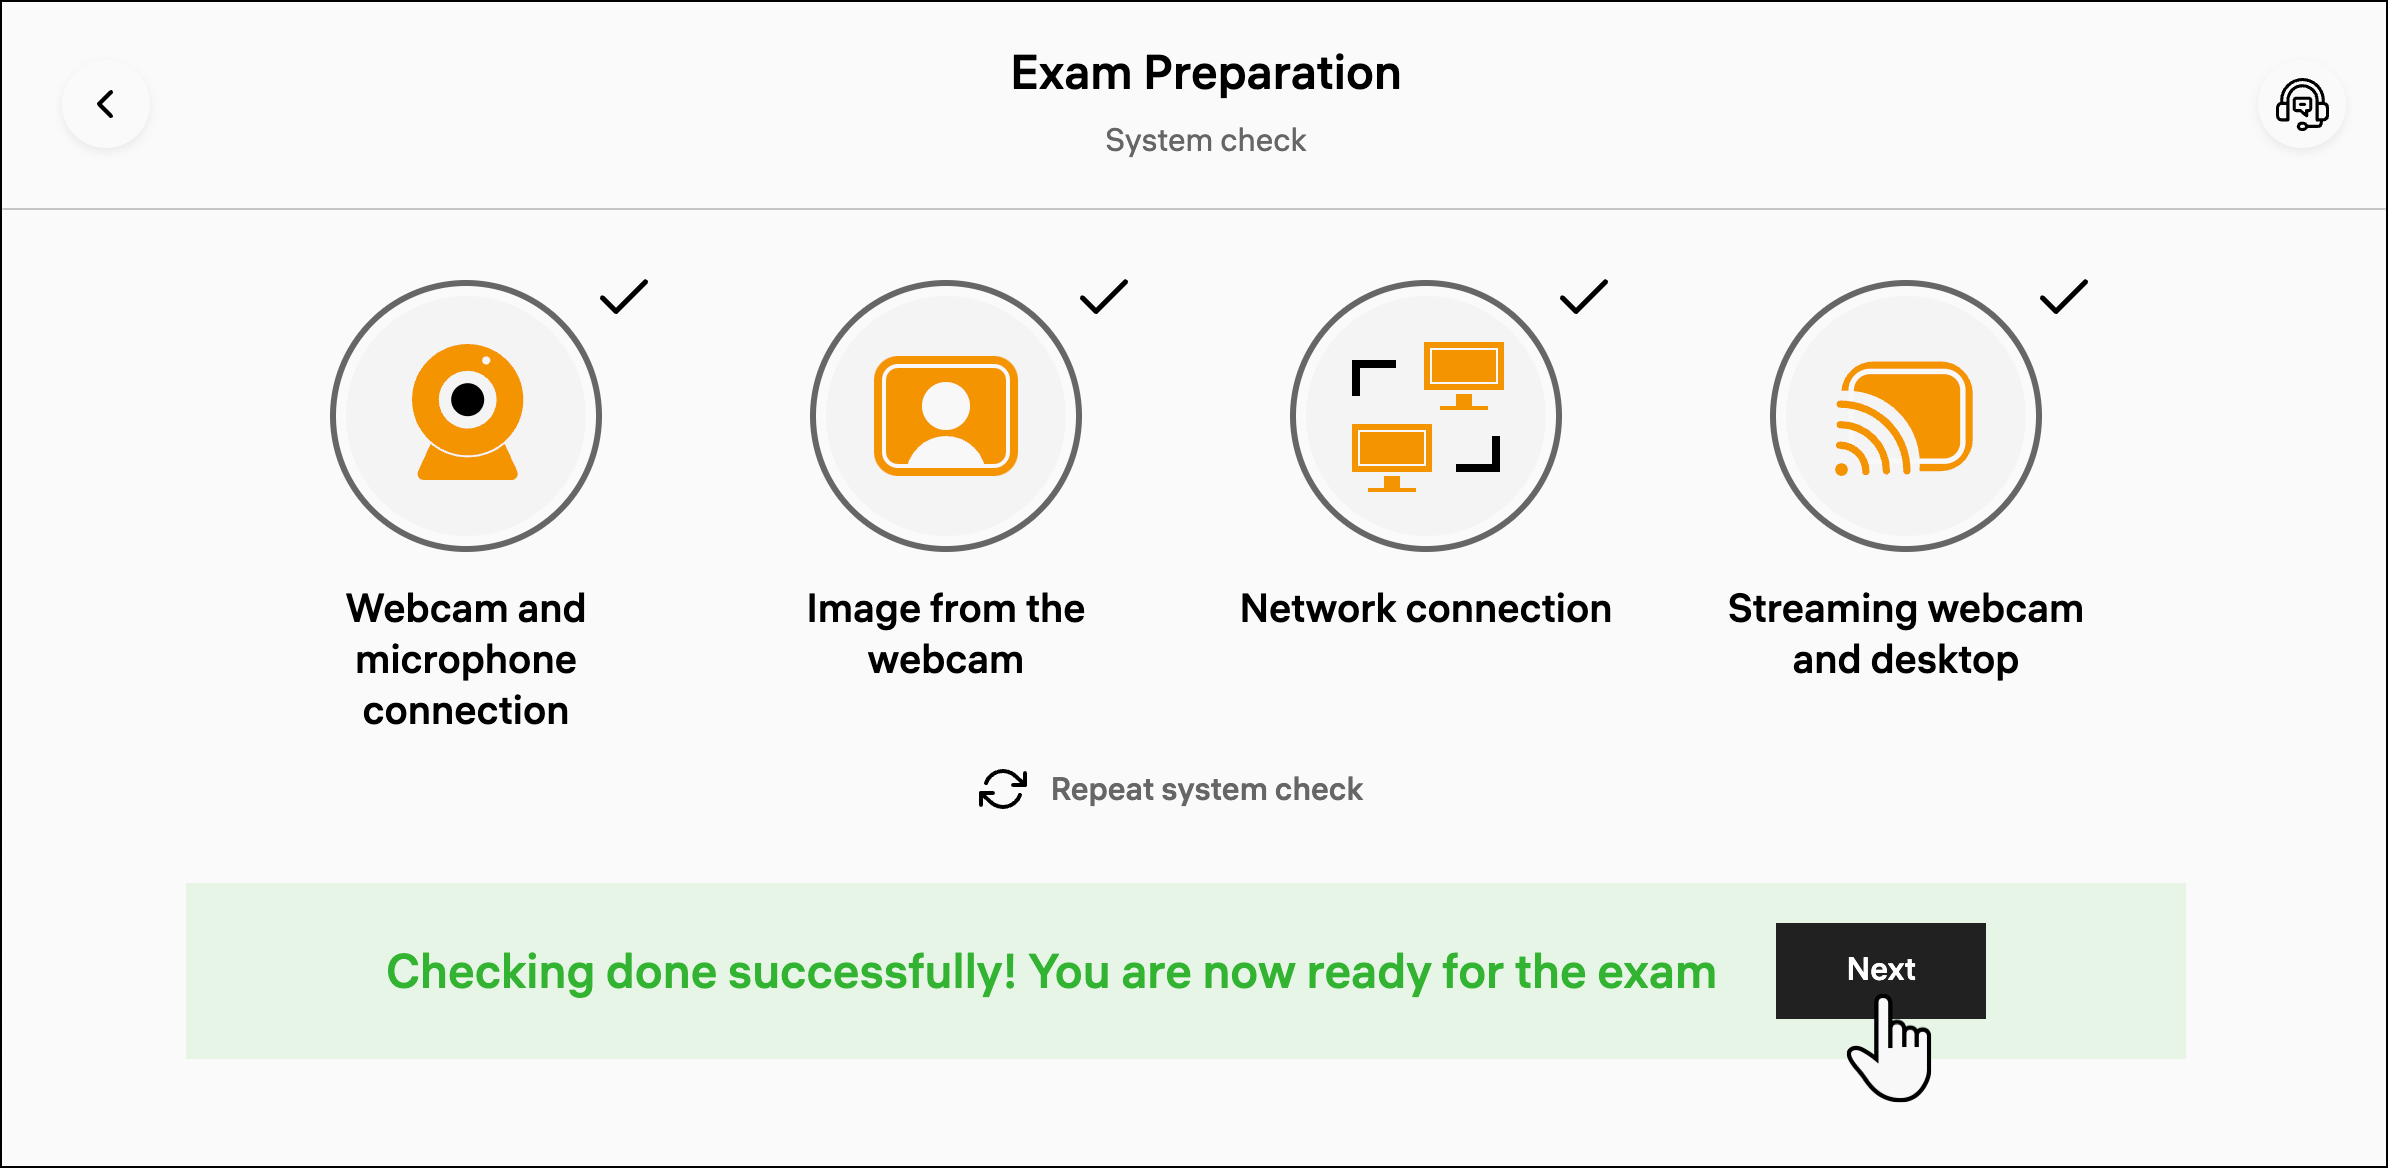
- If the system check fails at one of the steps, follow the guidelines in the corresponding troubleshooting article:
- When you change your computer's configuration (for example, connect a new external microphone), click Repeat system check. You can also refresh the browser tab — it will take you back to Terms & Conditions.
- If troubleshooting hasn't helped, create a ticket on our support portal.
Identity check
After the system check, take a photo of your ID for the proctor to identify you:
- Place your ID in front of the webcam, ensure it fits the frame.
- Click the camera button to start a 3-second timer:
![]()
After these 3 seconds pass, your webcam will take a photo.
You can retake the photo as needed by clicking Retake. The exam will begin shortly after you click Send.
When the proctor identifies you, they will let you enter the exam.
During the exam
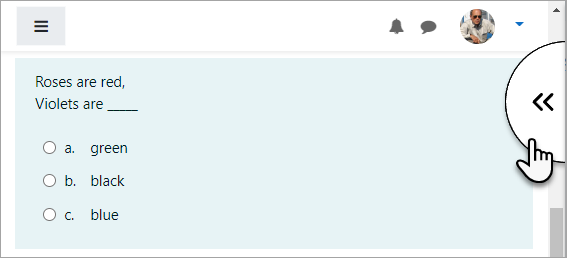
Now that you're in the exam, you can open the proctoring side panel. To do that, click on the button on the right side of your screen:
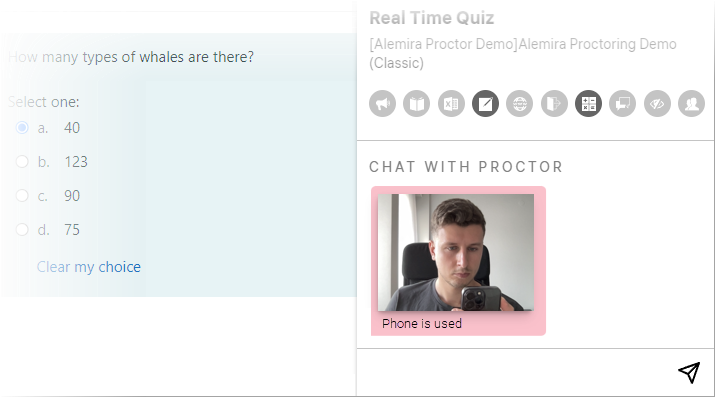
- On the side panel, you can see your real-time webcamera image [A] and exam rules [B]:
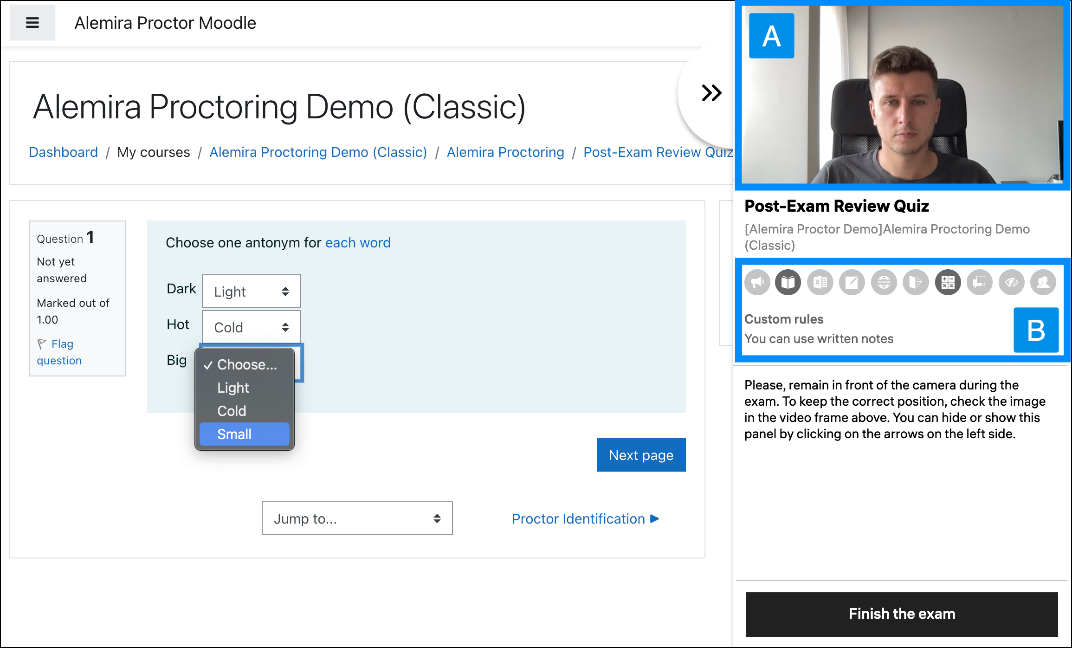
- Exam rules contain a list of activities that are either allowed (in black) or forbidden (grayed out) during your exam attempt. Hover the cursor over an icon to see its meaning:

- Your exam session is monitored by an AI that can detect suspicious behavior. You will see corresponding warnings in the lower left corner of the screen:
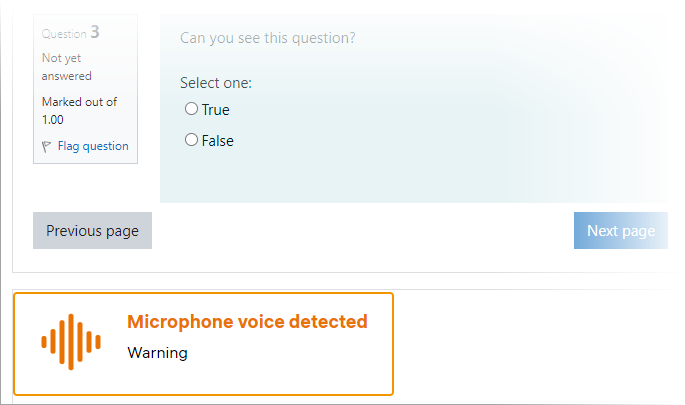
Note: AI proctoring is an auxiliary tool. The final decision on the integrity of your exam attempt will be made by a human proctor.
- The human proctor can send you warnings too – they will appear in the chat box:
Finishing the exam
When you’re ready to finish the exam:
- Submit your attempt. You should see a message saying that the session recording is being uploaded to the server.
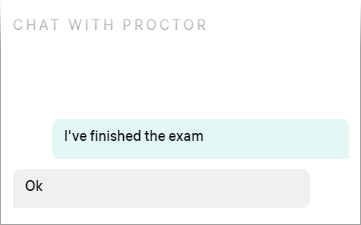
- Let the proctor know that you’ve finished the exam via chat:
- The proctor will finish your session manually in a few moments. Once it’s done, you will see a message saying that all the video files were uploaded:
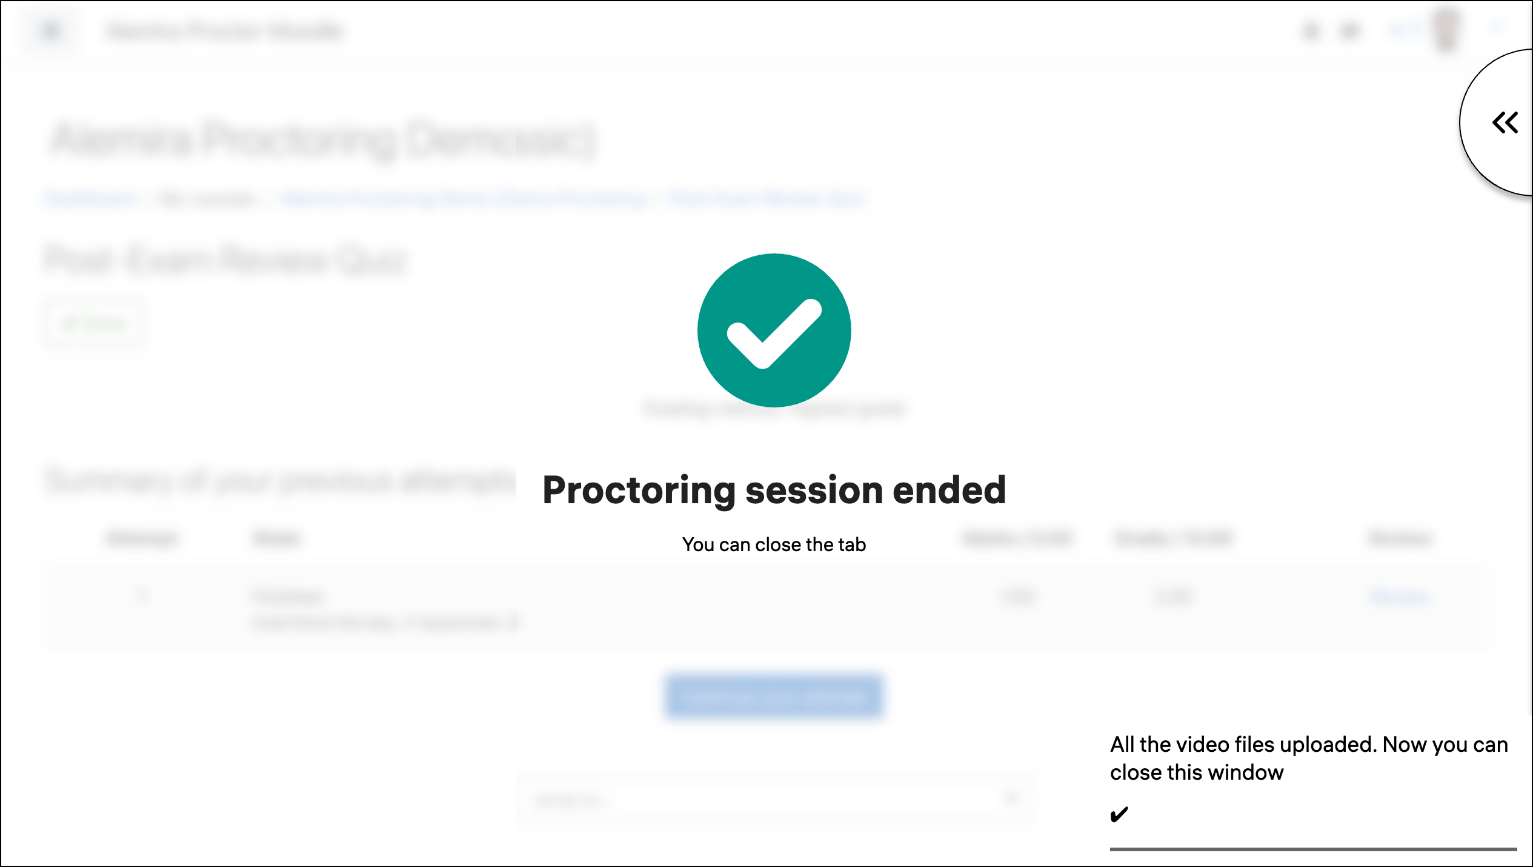
- Close the tab with the exam.
Your results will be sent to you by your organization when they are ready.