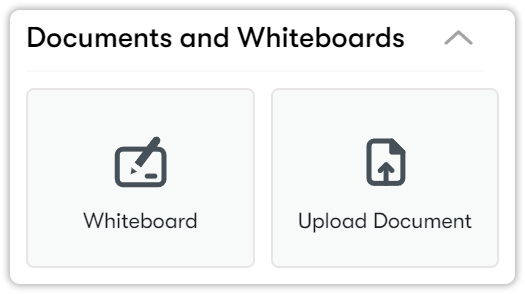
Files and whiteboards
This is the menu that allows us to upload documents to the system and add a whiteboard.
Adding a whiteboard
The steps to add a Whiteboard to your virtual classroom for use in class are given below.
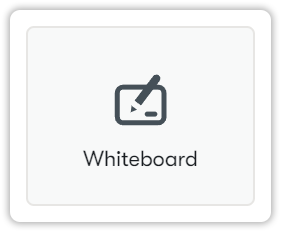
- Click on the Whiteboard button.
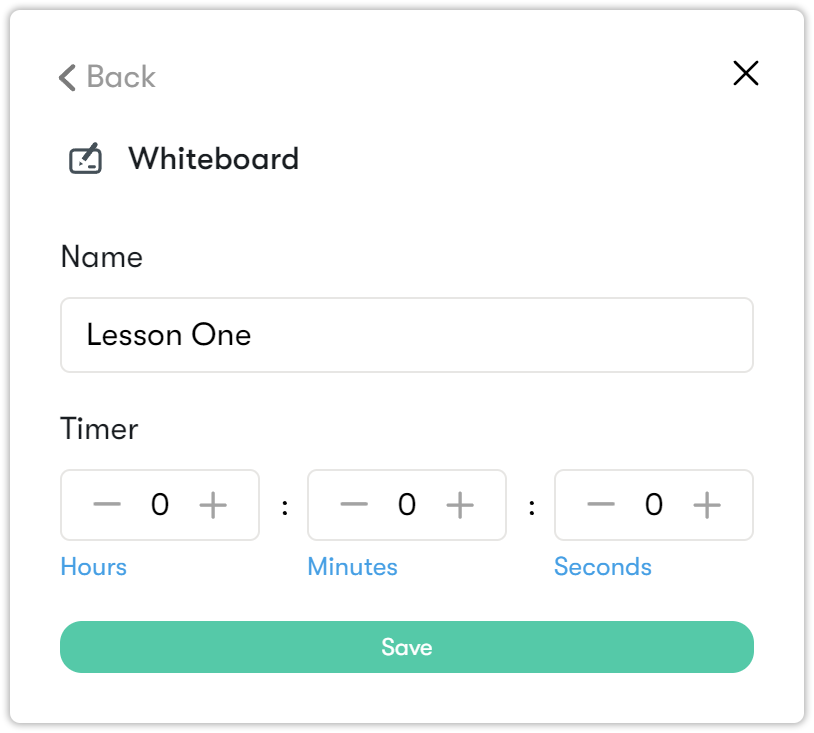
- Name your Whiteboard activity, and then you can specify how long this activity stays on the page with a timer. After the process is completed, click the Save button.
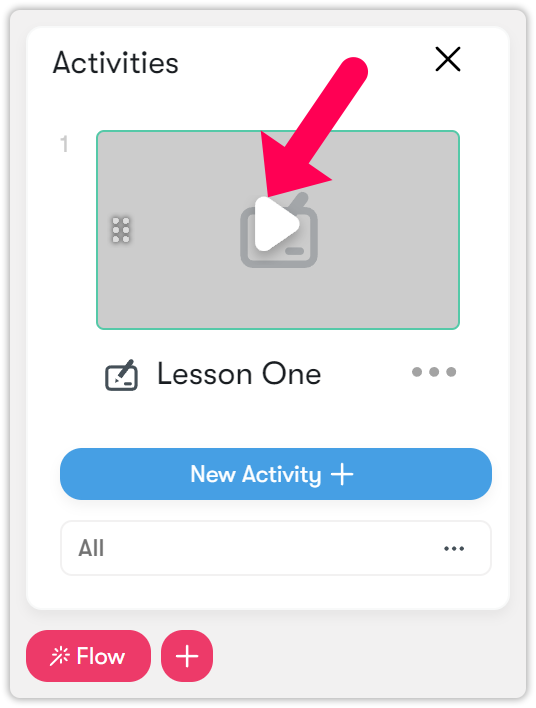
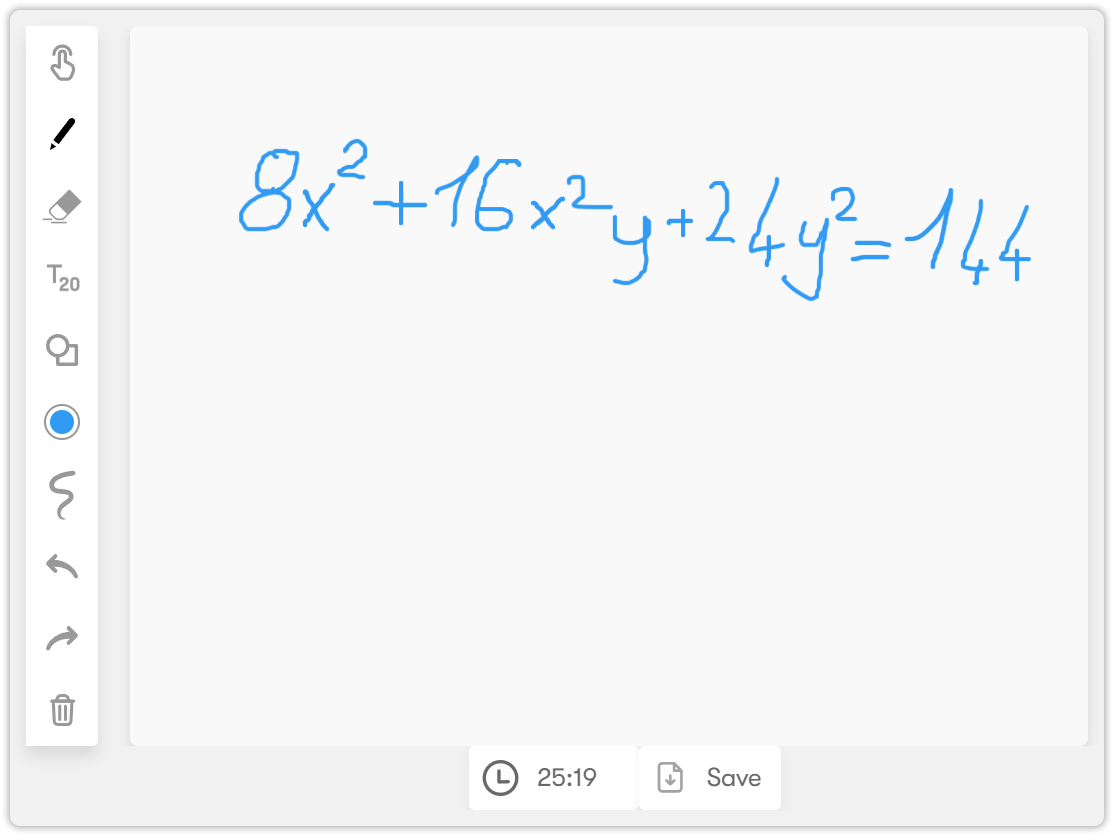
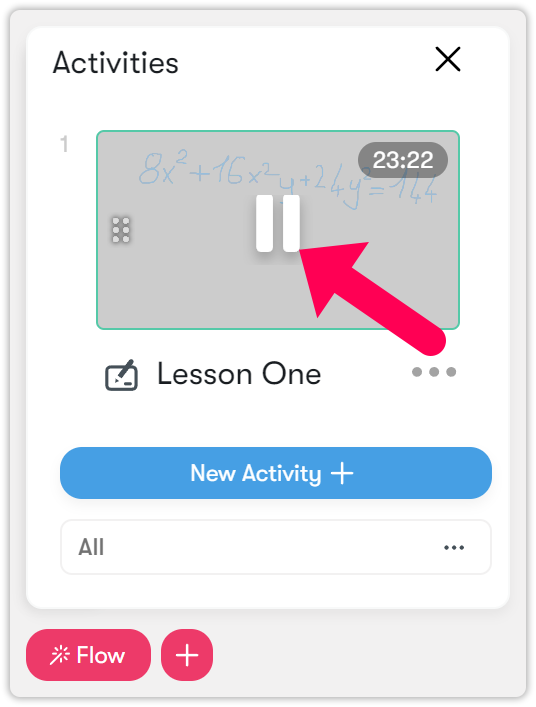
- The Whiteboard will then appear in the Activities section. When you click the Play button on it, the whiteboard will be displayed on the screen and become visible to the students.
- You can explain your lesson to students by making drawings. You can find the pen, highlighter, pointer and eraser on the left toolbox.
- If you want to remove the whiteboard from the main screen, you can stop the visibility by clicking the Pause icon.
Uploading a document
The steps for uploading documents to the virtual classroom for use in virtual classroom are given below.
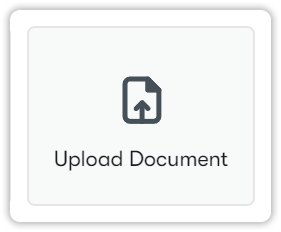
- Click on the Upload Document button.
- Then click on the blue plus button.

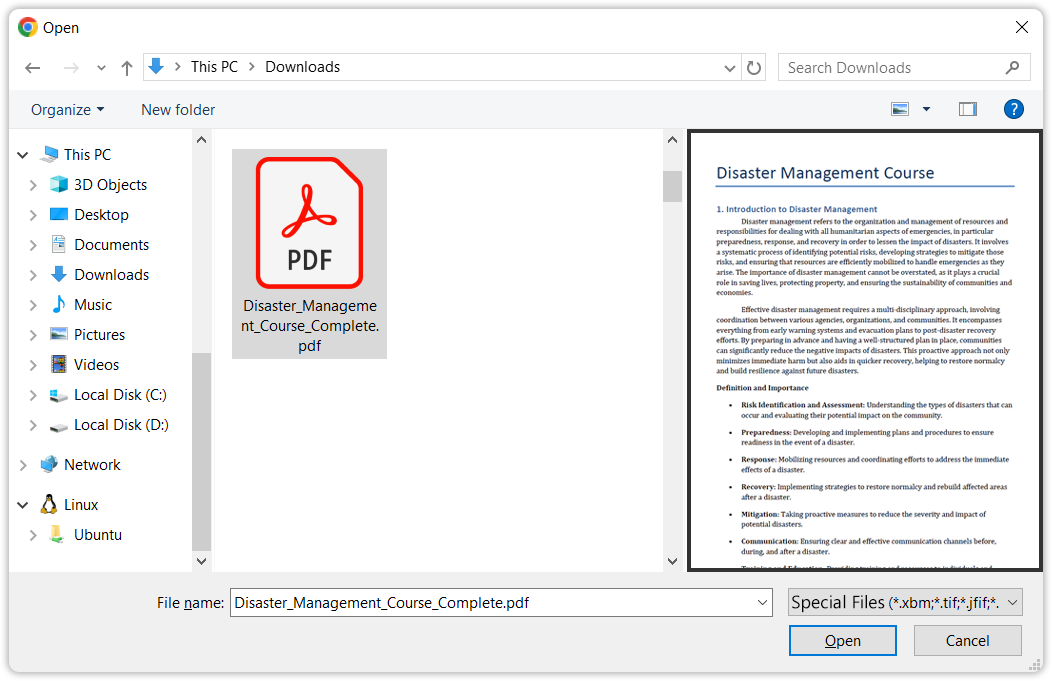
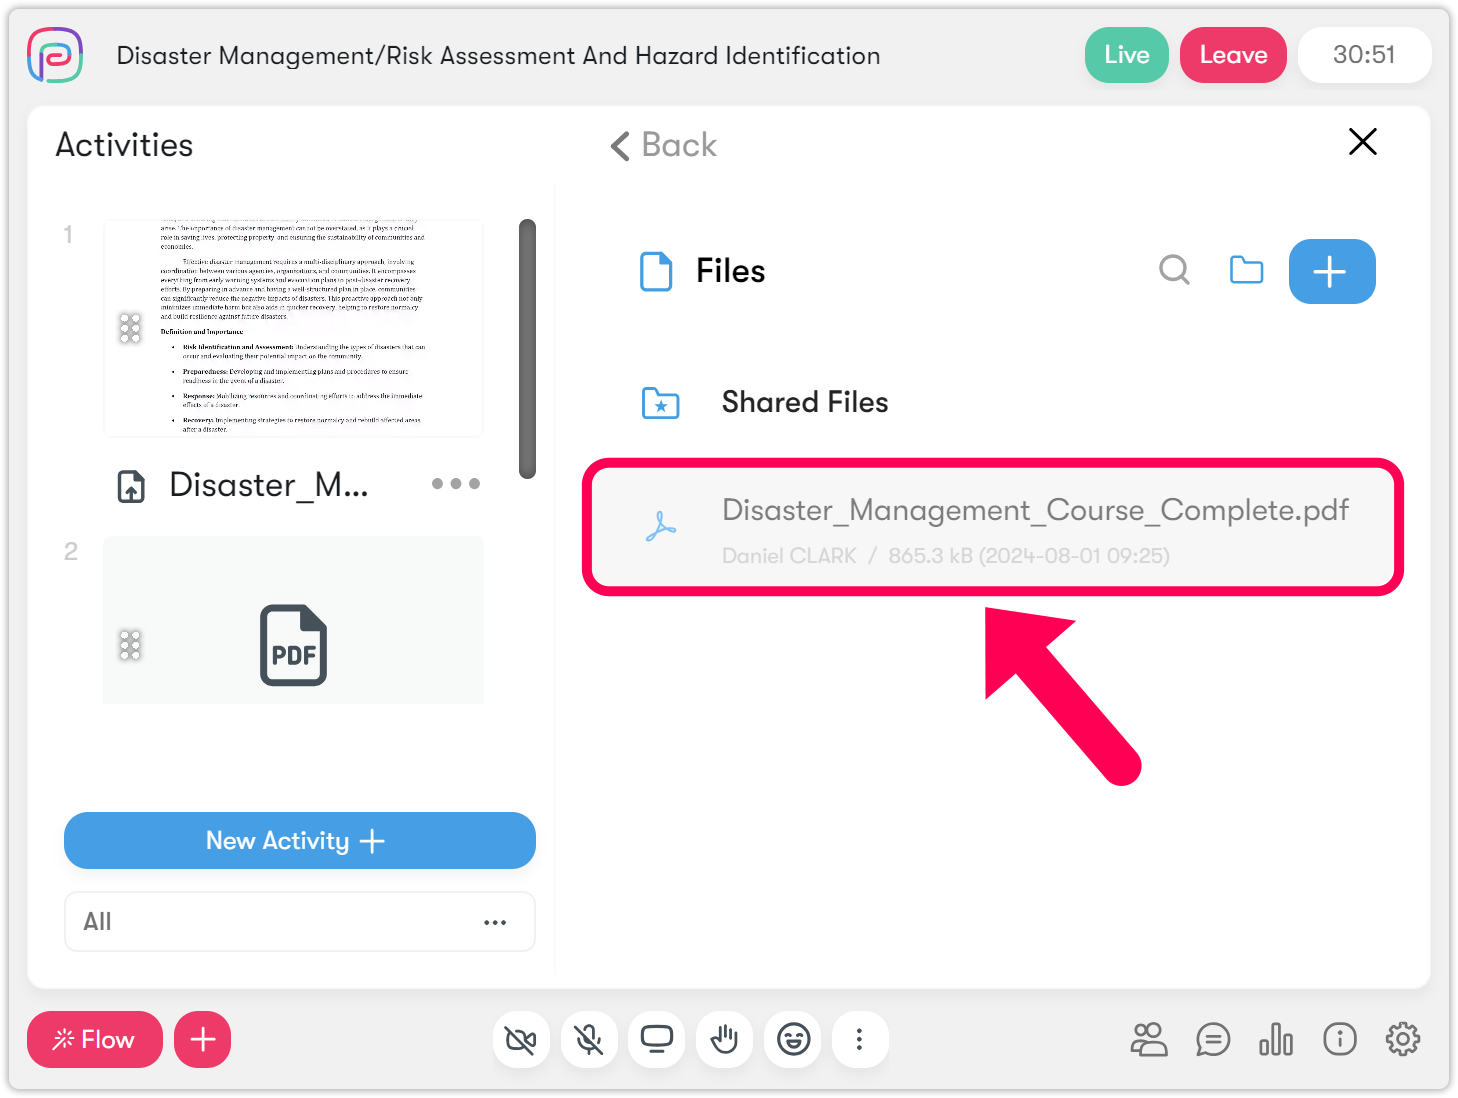
- Since only PDF files are uploaded to the system, select your relevant PDF document and click the Open button.
- Your file has arrived, but click on it to reflect it in the activities section.
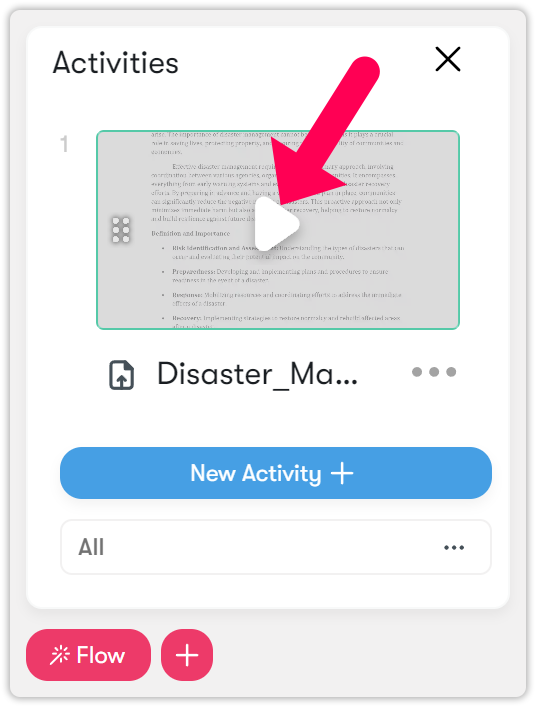
- You will see that your document is in the activities section.

- In order for the document to be reflected on the main screen, you must activate its visibility by pressing the Play button, as in other activities.
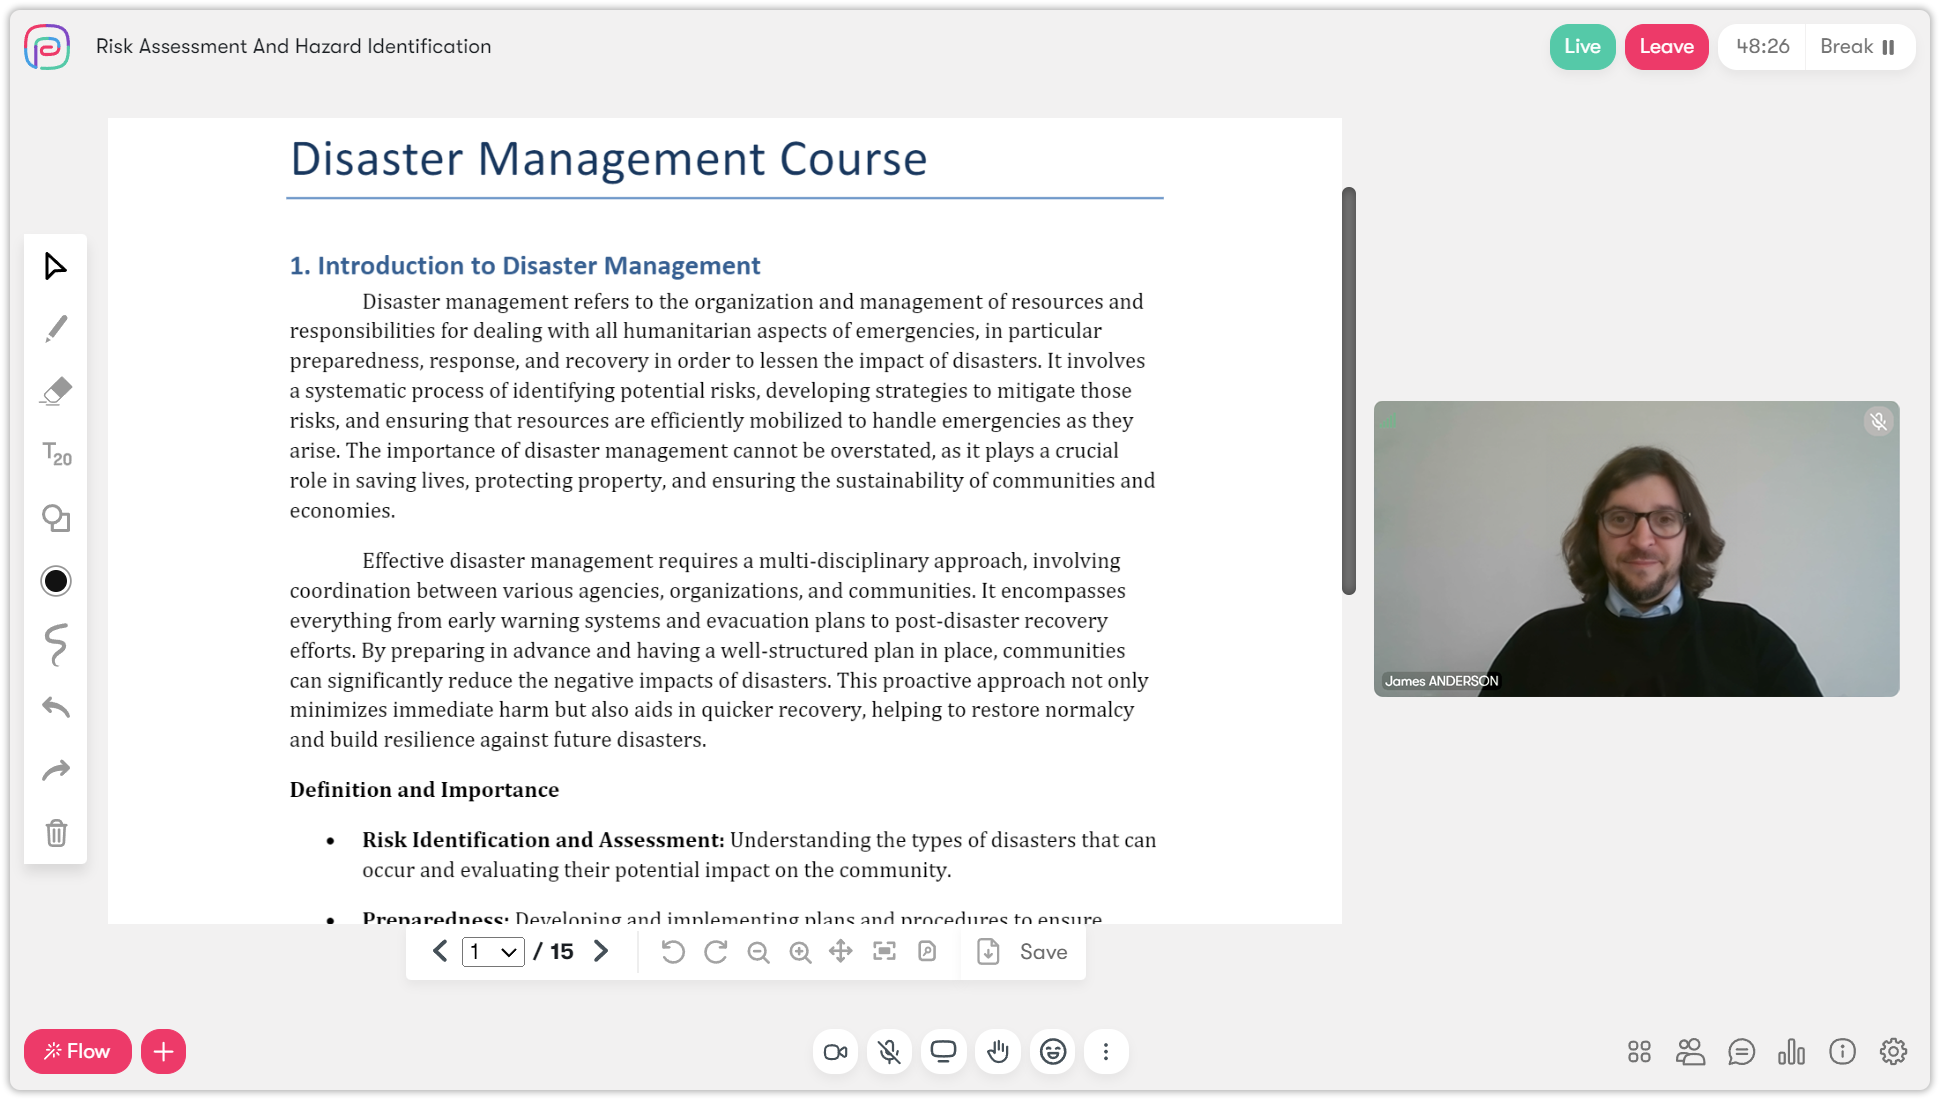
- The document is opened to the visibility of students.
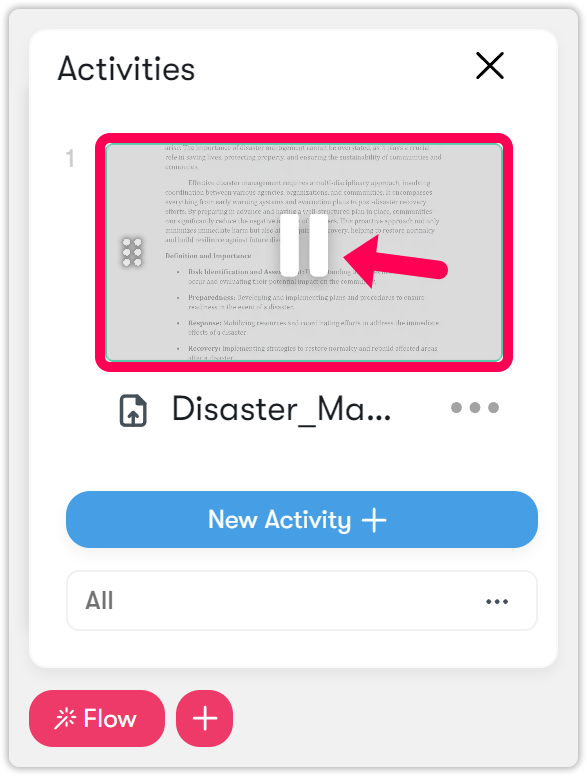
- Press the pause icon on your file in the Activities menu to remove it from the main screen.
| Information | IMPORTANT: You can upload only PDF files to the virtual classroom. If you have PowerPoint presentations, please convert them to PDF before uploading. |