Creating dataframes
Before you create a dataframe in your project in the platform, prepare a CSV file with the data.
To add a dataframe to your project:
- In My projects, click the name of a project you need.
- In the project you selected, switch to the Data catalog tab.
- Click Add.
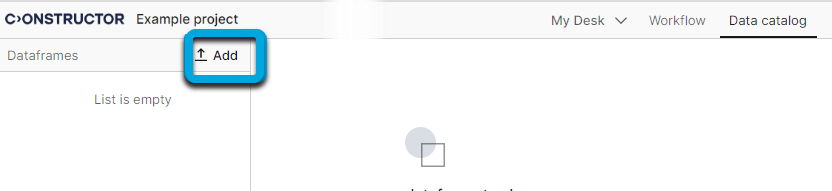
- Upload your CSV file.
- Enter the dataframe name.

- Click Import settings
 and specify the data import preferences:
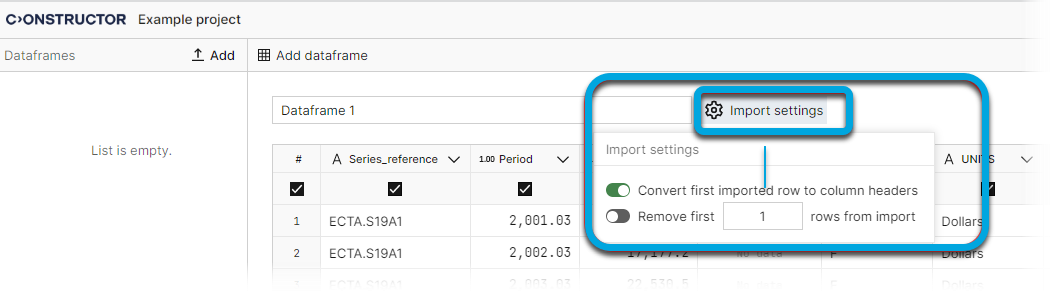
- Convert first imported row to column headers — if you want to generate the column headers from the first row in the CSV file.
| Information | If you clear this toggle, make sure you name the columns. |
- Remove first
<N>rows from import — if you need to remove a particular number of rows from the dataframe (for example the headers row and give columns custom names).
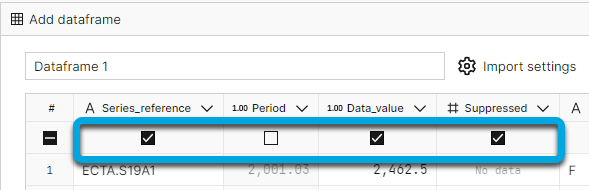
- Now you can configure the view of the dataframe:
- To exclude (or include) a column, clear (or check) the checkbox under the column name.
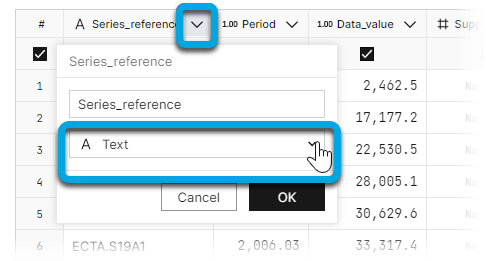
- To edit a column name, click the expand arrow, enter the required name and click OK.
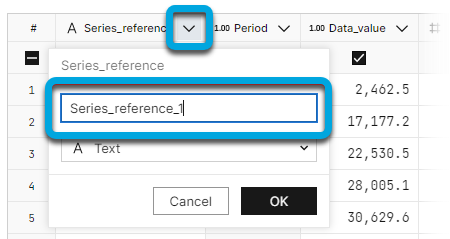
- To edit the data type of the column, click the expand arrow, expand the data type list, select the type and click OK.
| Information | If the data type does not correspond to the column contents, there will be the "No data" error highlighting. |
- Click Create dataframe.
| Information | In the preview mode (until you confirm uploading a dataframe) only up to 30 rows of a dataframe are displayed. |