Creating courses from scratch
To create a course from scratch:
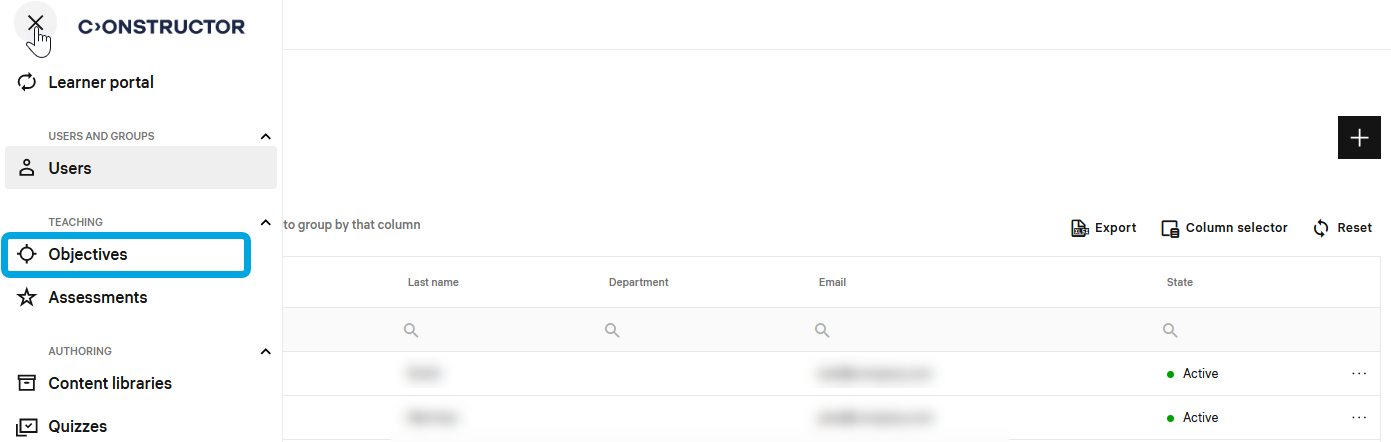
- In the LMS management portal, click
 in the upper-left corner.
 - Go to Teaching > Courses.
- On the courses page, click
 .
. - Click Create from scratch.
- Specify the following parameters:
- Title — the course name.
- Unique code or ID — the course identifier.
- Description — a short description of the course.
Collections — if you want to improve searchability, include the course in one or more thematic collections by selecting the respective collections.
Cover image
Use one of the options to add an image that is used as a cover for the course.
Status — the course status:
Draft — this is the default status of a component you are working on; compositions can be added to already running courses and their names will be visible to learners.
Ready — this is the status of complete components that are available to learners.
Expired — this is the status of components (assignments) that have expired due dates.
Archived— this is the status of components moved to the archive.
Settings
- Supports mobile view — the course content supports rendering on mobile device screens.
- Supports review after completion — the course allows instructors and learners to review its content and grades after it was submitted and graded.
- Requires manual grading — the course requires an instructor to check it after a learner submits it.
- Supports LTI authoring — the course can use LTI components.
- Supports full screen — the course content supports rendering on computer screens.
- Click Create course and continue. The course will be saved and the About page will be open.
- Specify the information about the course, switch to the content tab, and add the content. After that, you can configure the content flow and enroll learners in the course.