For translators
Editing translations via Crowdin
- Log in to your translator account on Crowdin.
- Choose the project to work with (examus or proctoring-project).
- Choose the interface language to edit:
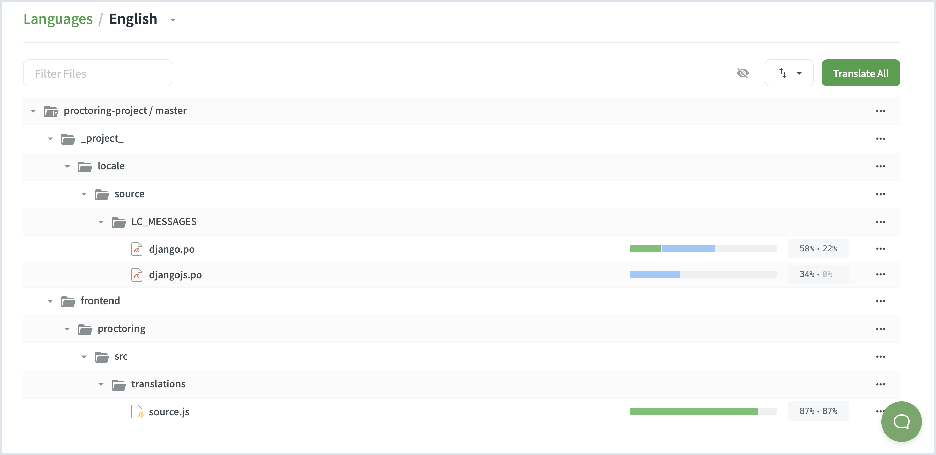
- On the page with files, you will see the number of translations for each of them. To go to a specific file, click on its name, or click on the "Translate all" button to go to the page with all texts:
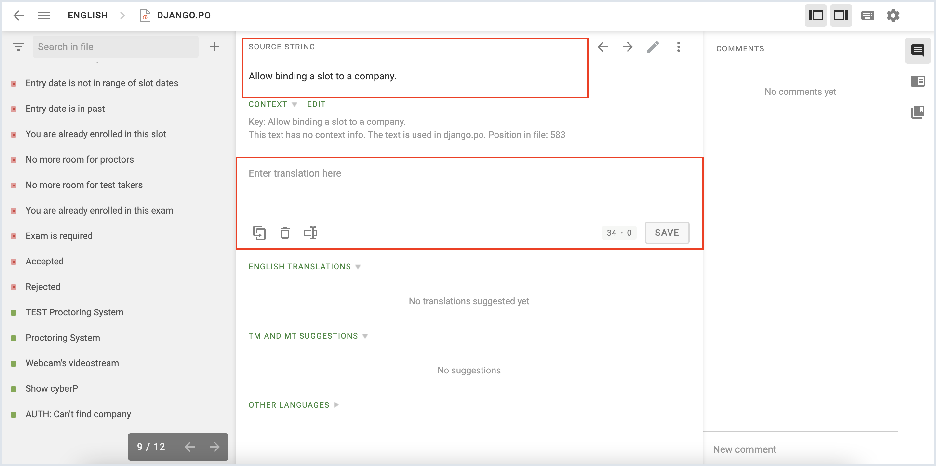
- Keys for which translations are missing are marked in red. Keys for which translations have already been added are marked in green:
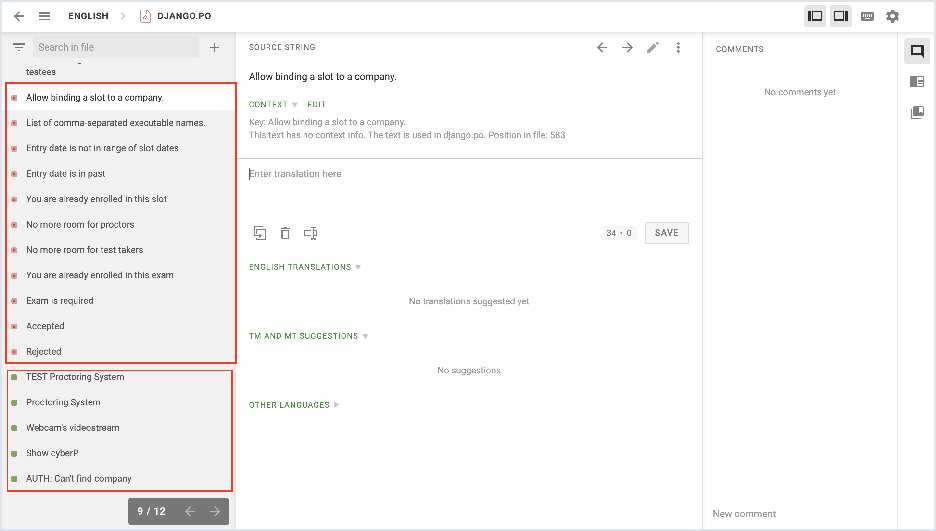
- The text of the original English translation is located at the top center of the page. Below is a field for entering a translation in the language of your choice. Add a translation and click Save:
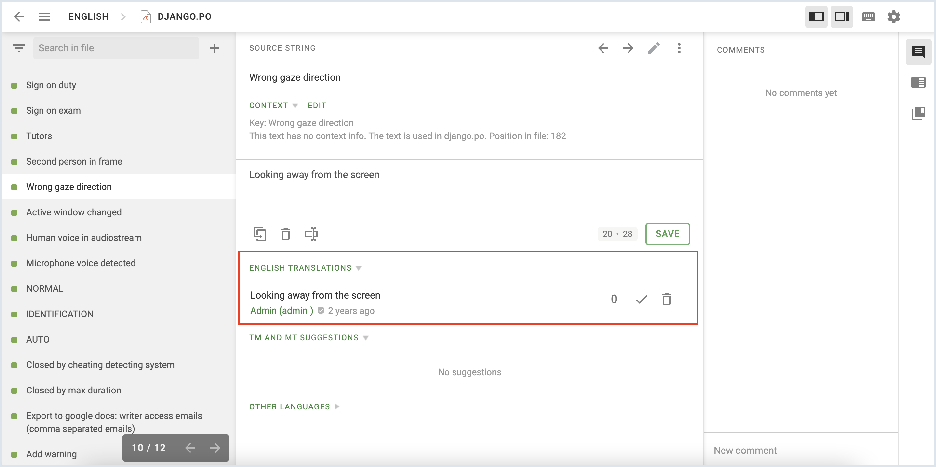
- If a translation already exists for a key it can be changed by adding a new translation in the input field. A list of all past translations can be seen at the bottom of the screen:
Editing translations in the proctoring interface
Log in to Proctor Dashboard.
Select Development language from the interface languages list:
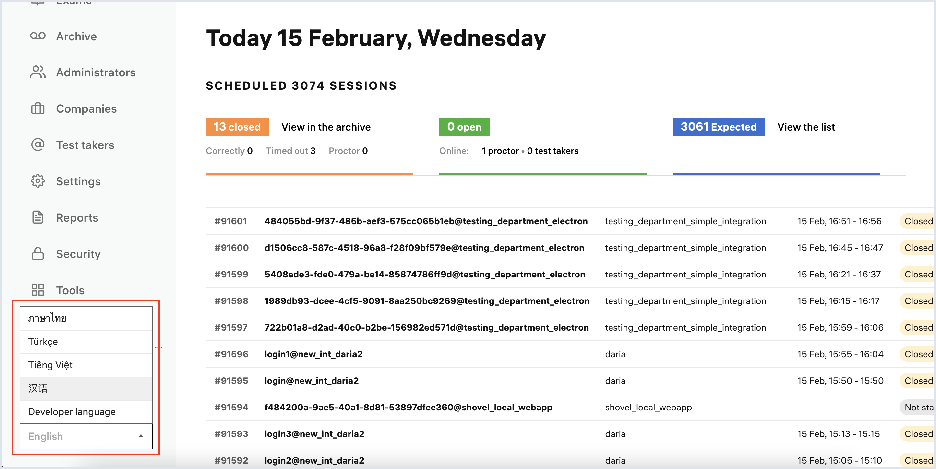
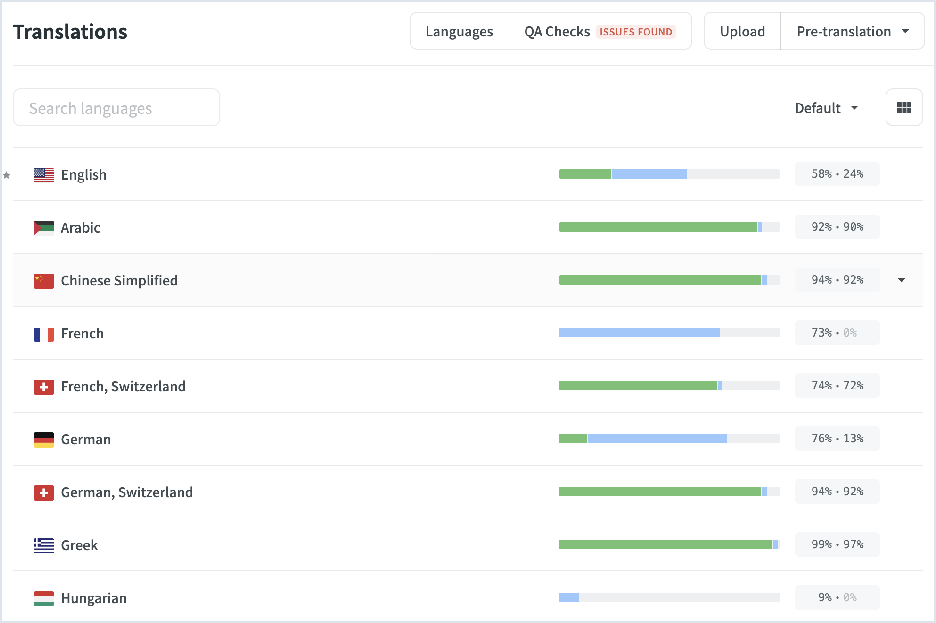
Select the language you will be translating into:
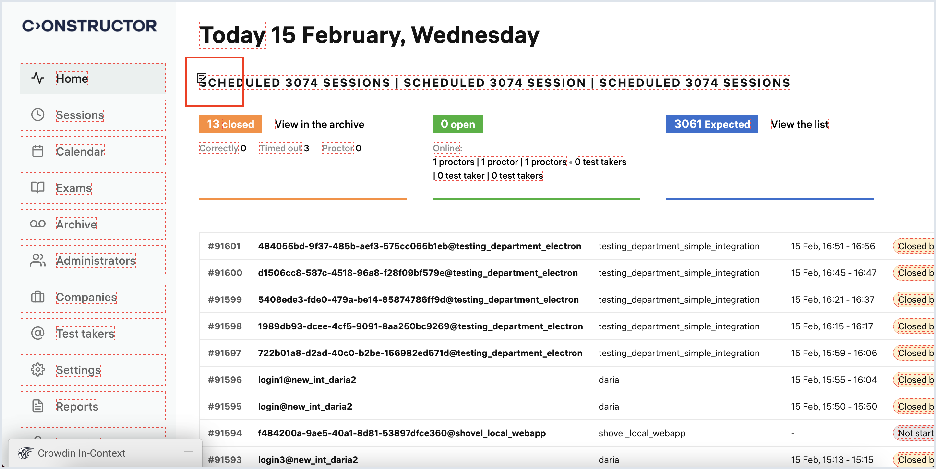
The page will switch to translation editing mode:
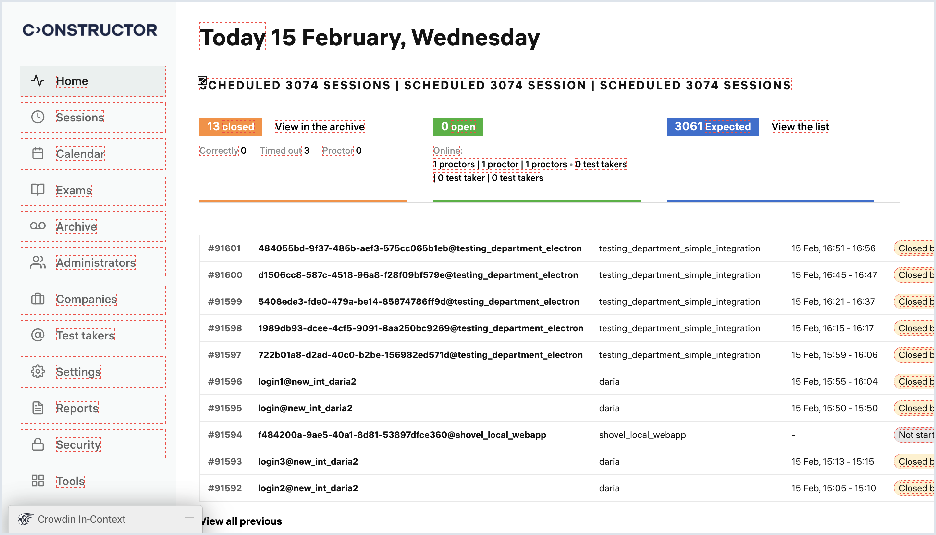
To add or alter a translation, point the cursor at the text label that you'd like to localize/edit and click on the "pen and paper" icon:
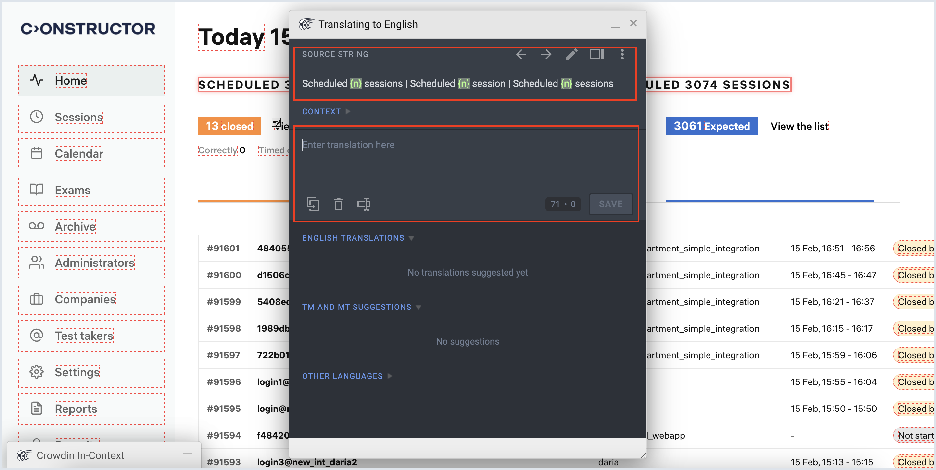
An editing window will open. The original English translation is displayed at the top of the window. Below is a field for translating into your language. Type in the translation and click Save:
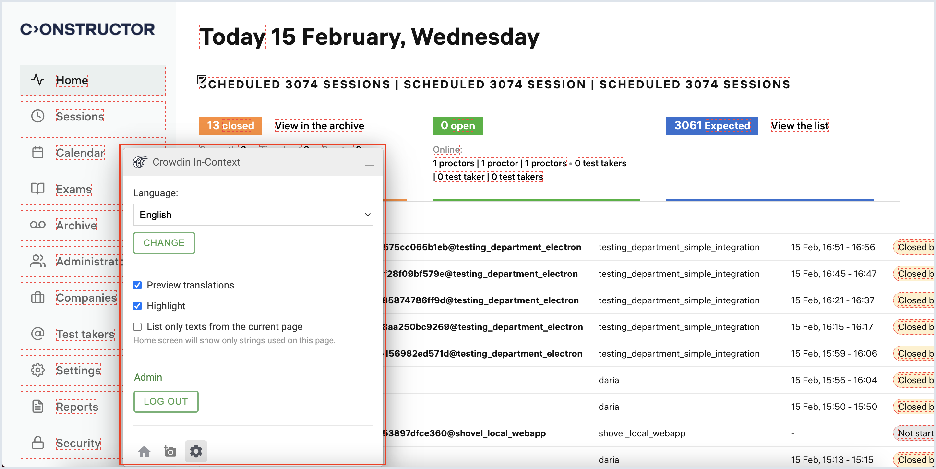
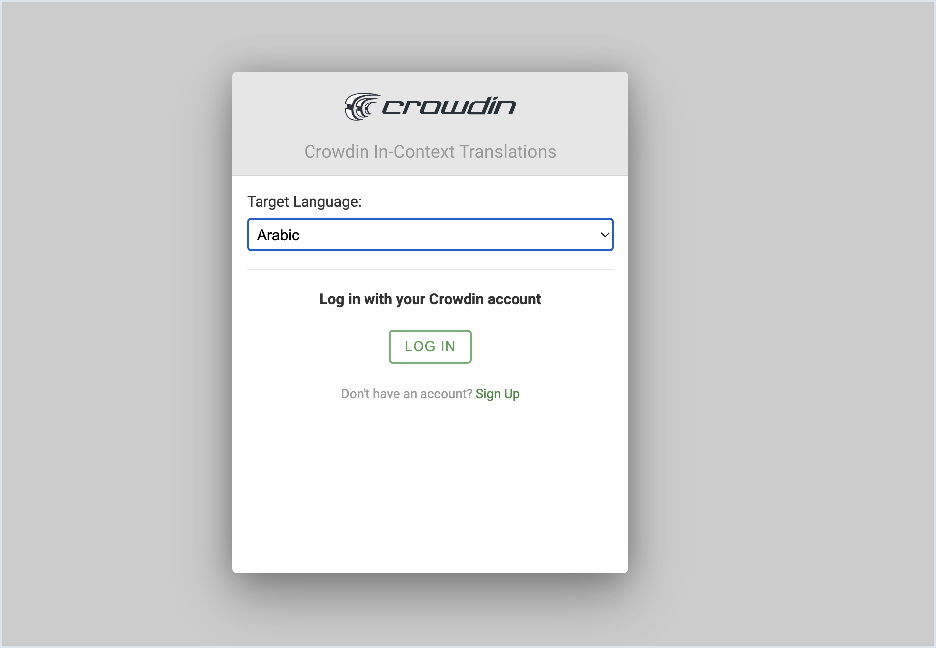
To switch the language you're translating to, expand the Crowdin panel at the bottom of the screen and click on the cog icon to open Settings:

Select a new language then click Change: