Managing courses
Creating collaborative activities
Collaborative activities are assignments where learners work together in small groups. For these activities, you need to divide the class into mini-groups, each working on the respective assignment. The collaborative activities feature is managed on either the Scheduling or Class splits tabs of the Courses menu.
IMPORTANT: Learners must be enrolled in the course that includes collaborative activities beforehand. A term must be specified for the enrollment, otherwise it's impossible to create collaborative activities.
To create a collaborative activity for your group of learners:
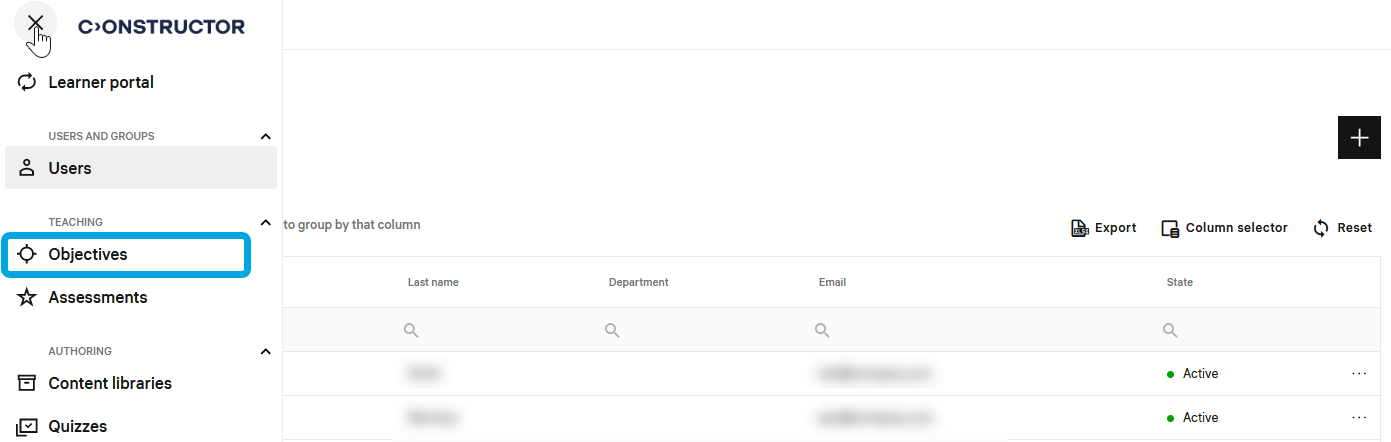
- In the Learn management portal, click
 in the upper-left corner.
 - Go to Teaching > Courses.
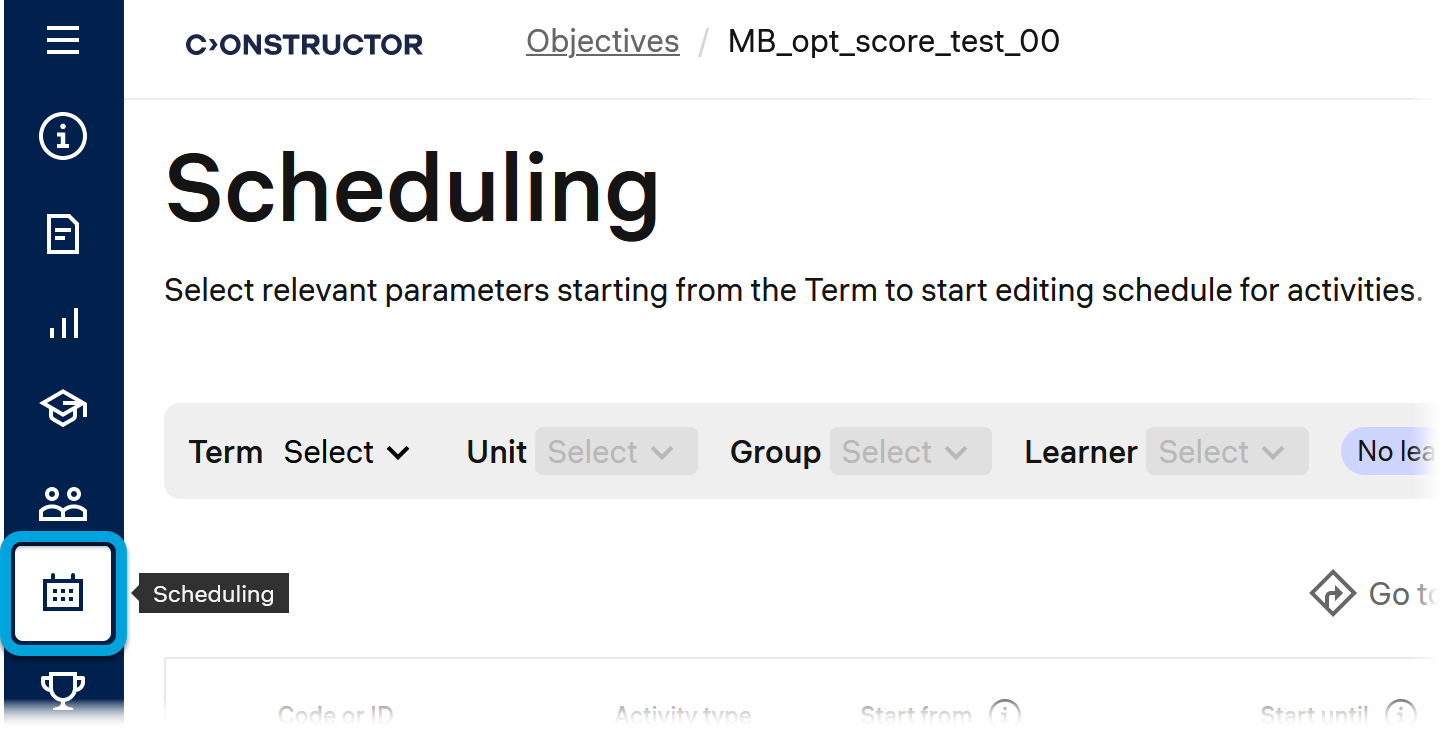
- In the courses list, double-click the required course to start editing.
- In the leftmost bar, click the Scheduling icon.
- In the Collaborative column for the activity, select the Collaborative flag for the required activity.
- In the Class split column for the activity, click No split > Create split.
- Specify the class split parameters:
- Name — the name of the class splitting
- Description — a short description of the class split.
- Number of mini-groups — the number of mini-groups you want to divide the class into.
- Learner capacity per mini-group — the number of learners each mini-group should include.
- Click Create.
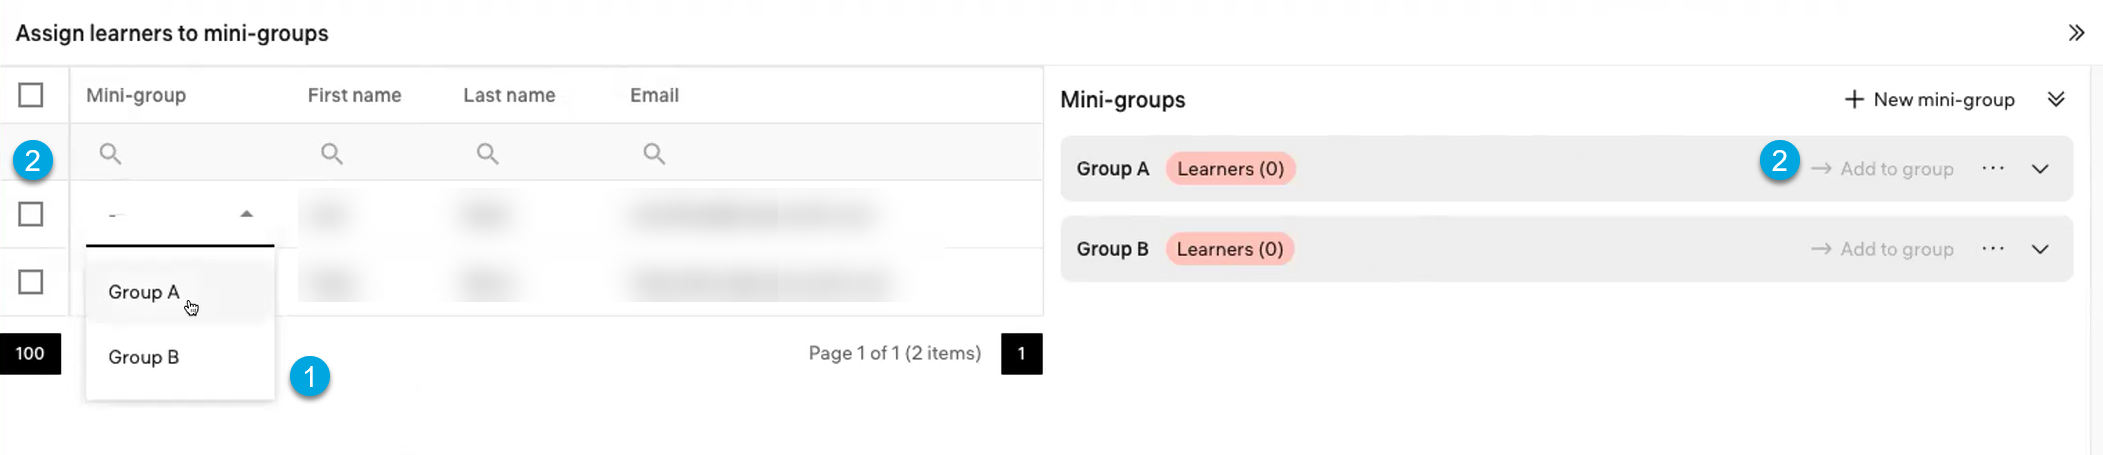
- Add enrolled users to the created mini-groups: to do it, either select a group for each user (1 in the screenshot below) or select the users and click Add to group for the respective mini-group (2).
- Select the activities to which to apply the created group split: either on the Scheduling tab, in the Class split column specify the created split for the activity or on Class splits tab, on the Apply to activities sub-tab specify the activity.