Creating a role
To create a role:
Navigate to Site administration > Users > Permissions > Define roles.
Click on Add a new role.
Select Authenticated user in the Use role or archetupe field:
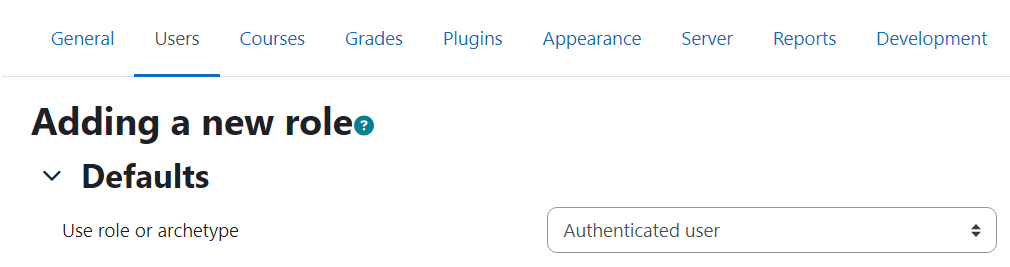
Click Continue.
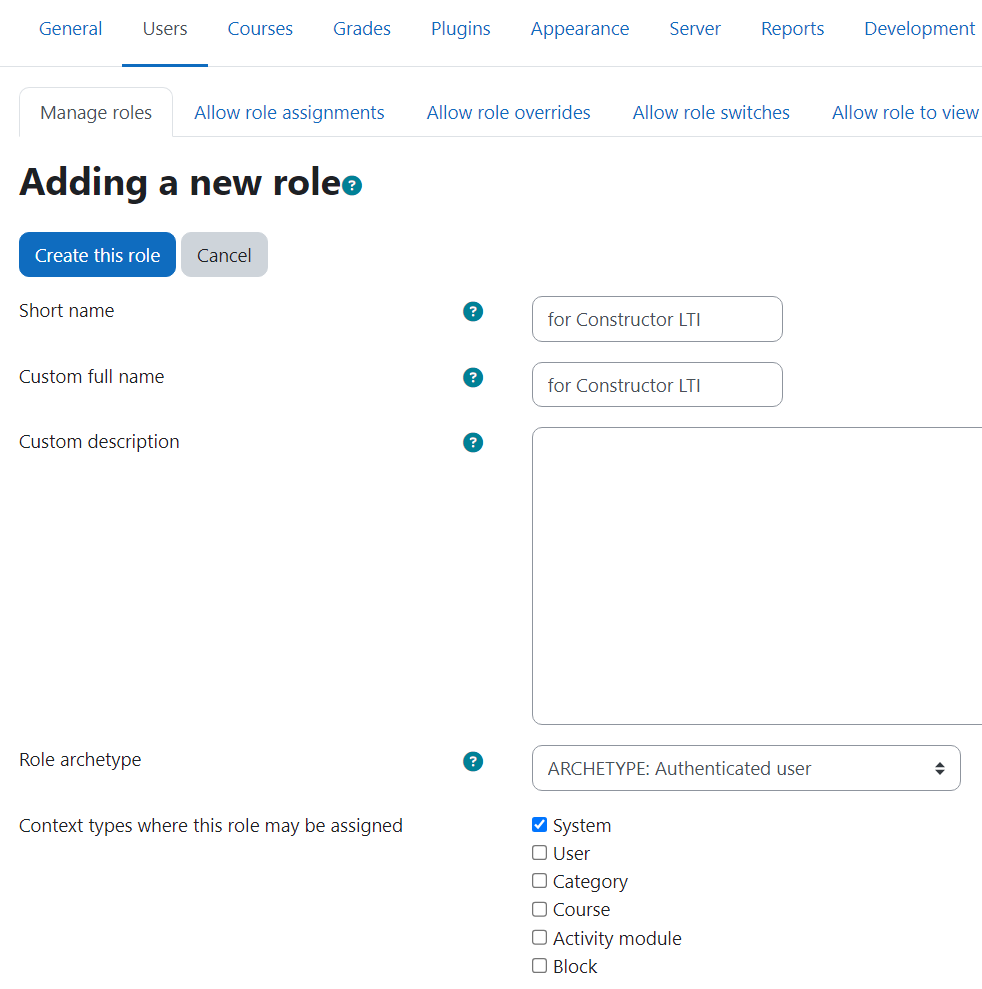
Fill in the following fields:
Short name and Custom full name.
Check the box for System in the Context types where this role may be assigned field:
Grant the following permissions to the role at the bottom of the page:
- Use REST protocol (webservice/rest:use)
- View hidden courses (moodle/course:viewhiddencourses)
- Update course settings (moodle/course:update)
- View courses without participation (moodle/course:view)
- Manage quiz settings overrides (mod/quiz:manageoverrides)
- View quiz information (mod/quiz:view)
- Manage quizzes (mod/quiz:manage)
Click Create this role.
Navigate to Site administration > Users > Permissions > Assign system roles.
Choose the created role to assign by cliching on it, then add the user.
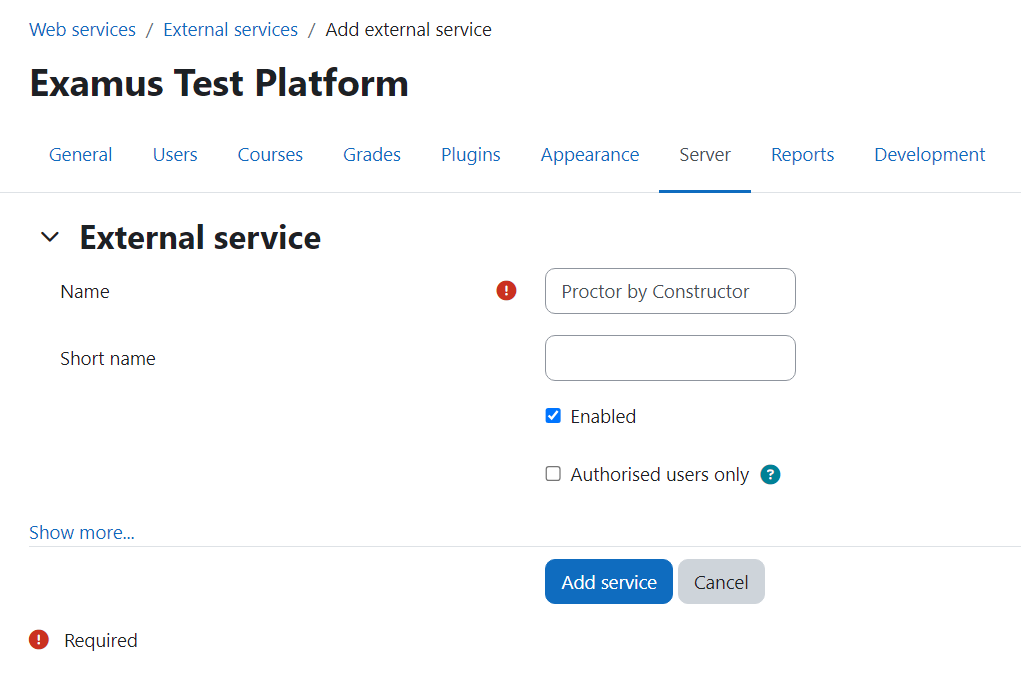
Navigate to Site administration > Server > Web services > External services.
Click Add at the bottom of the page.
Fill in the Name field.
Enable the Enabled. The remaining settings should be left as default.
Click Add service:
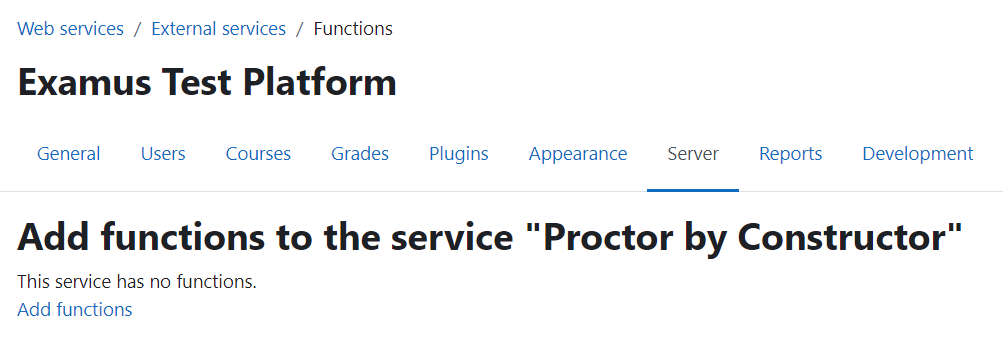
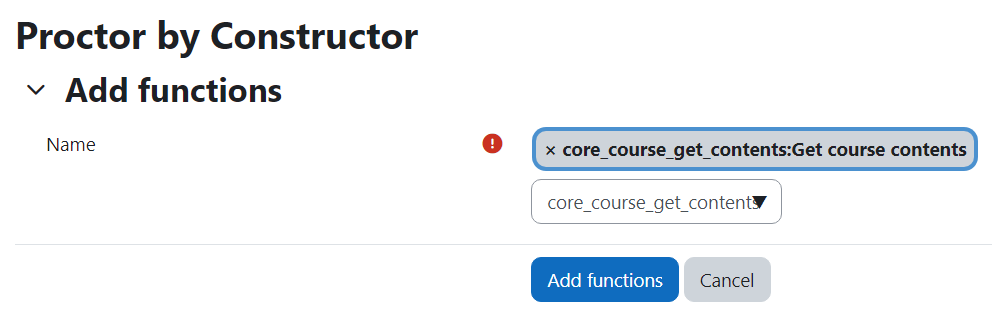
Click Add functions:
Enter the core_course_get_contents in the Name field, then click on Add functions:
The result: