Groups Instructor Guide
Sessions
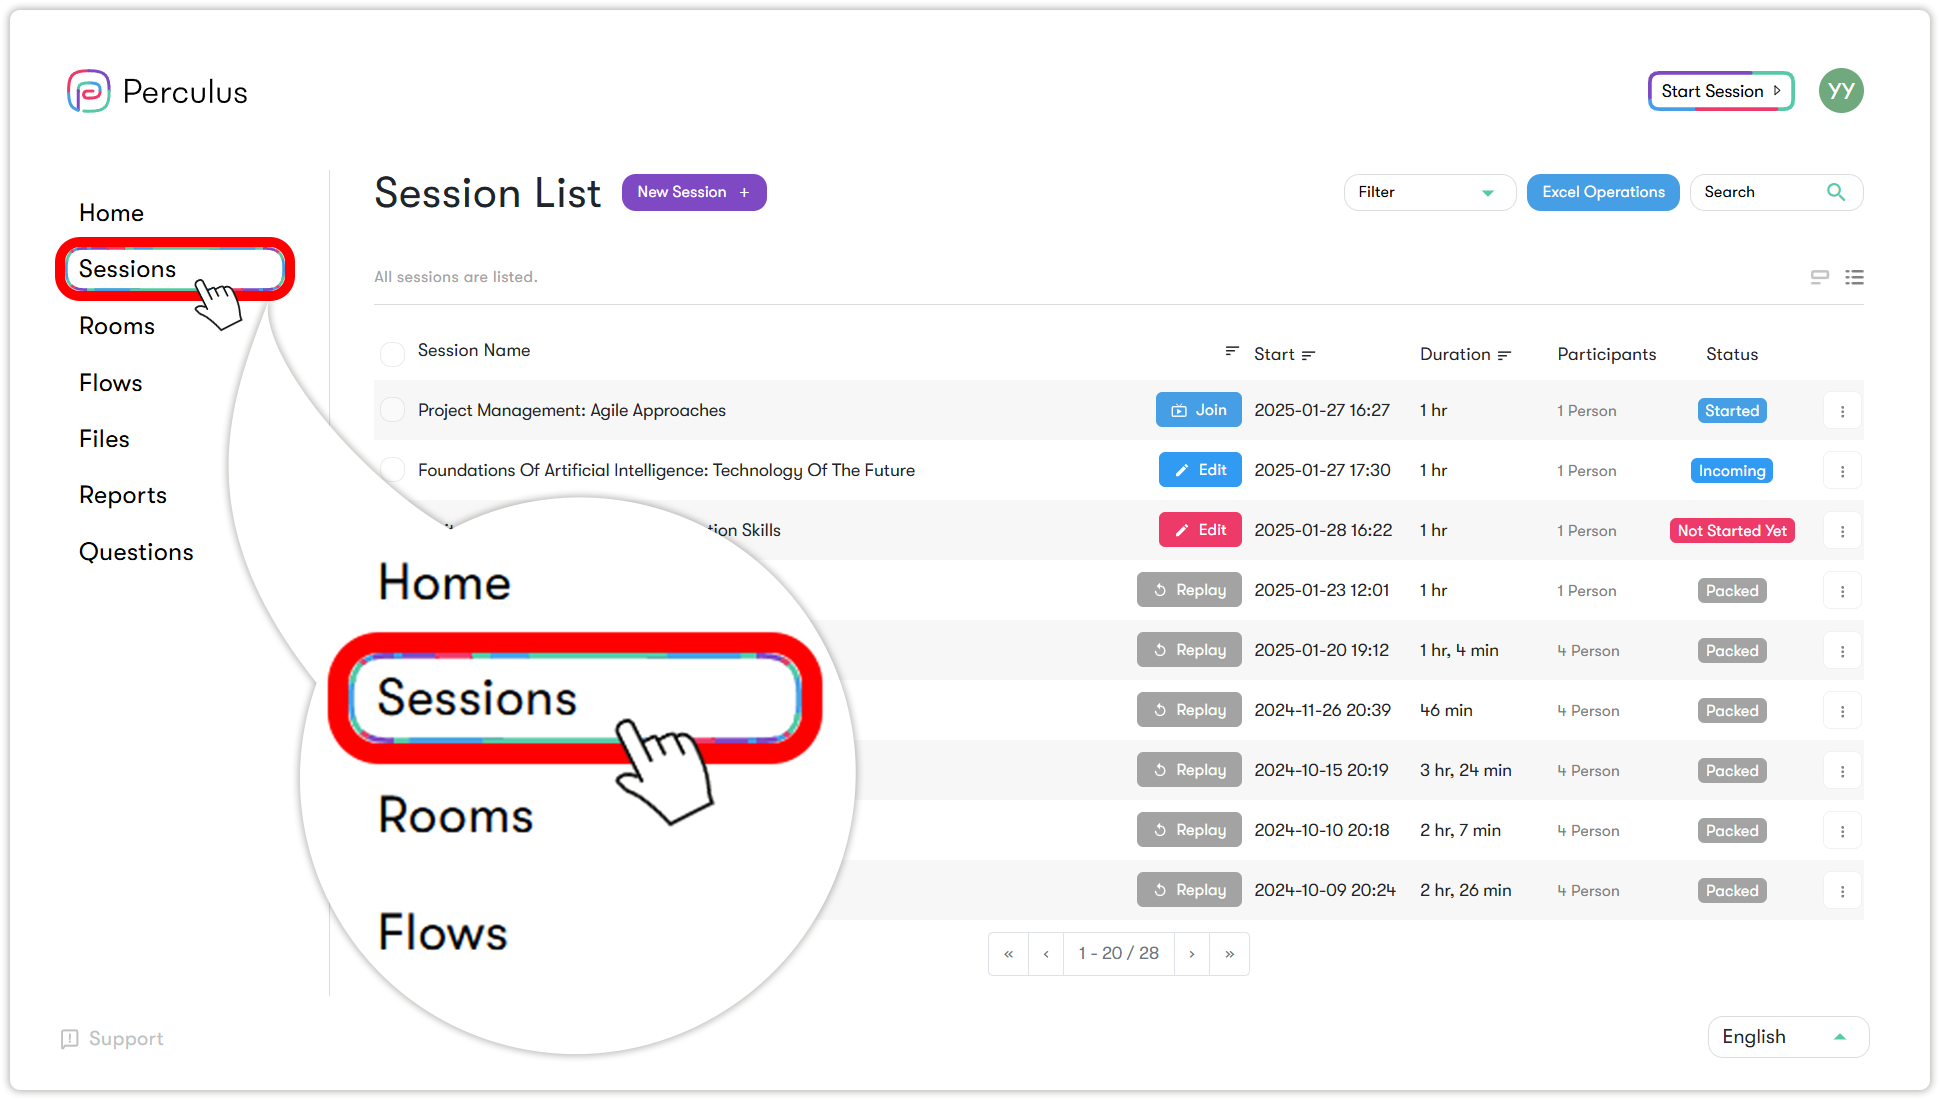
To access the Sessions page, click Sessions on the left side of the screen. On this page, you can create, delete, and join sessions, as well as view recorded sessions. You will only see sessions for which you are authorized or listed as a participant.
You can either:
- Start an instant session when you need to meet on short notice.
- Create a session scheduled for a specific date and time.
Starting an instant session
If you need to start a virtual classroom session immediately, without prior setup:
- Log in to your institution's Groups panel.
- Click Start session.
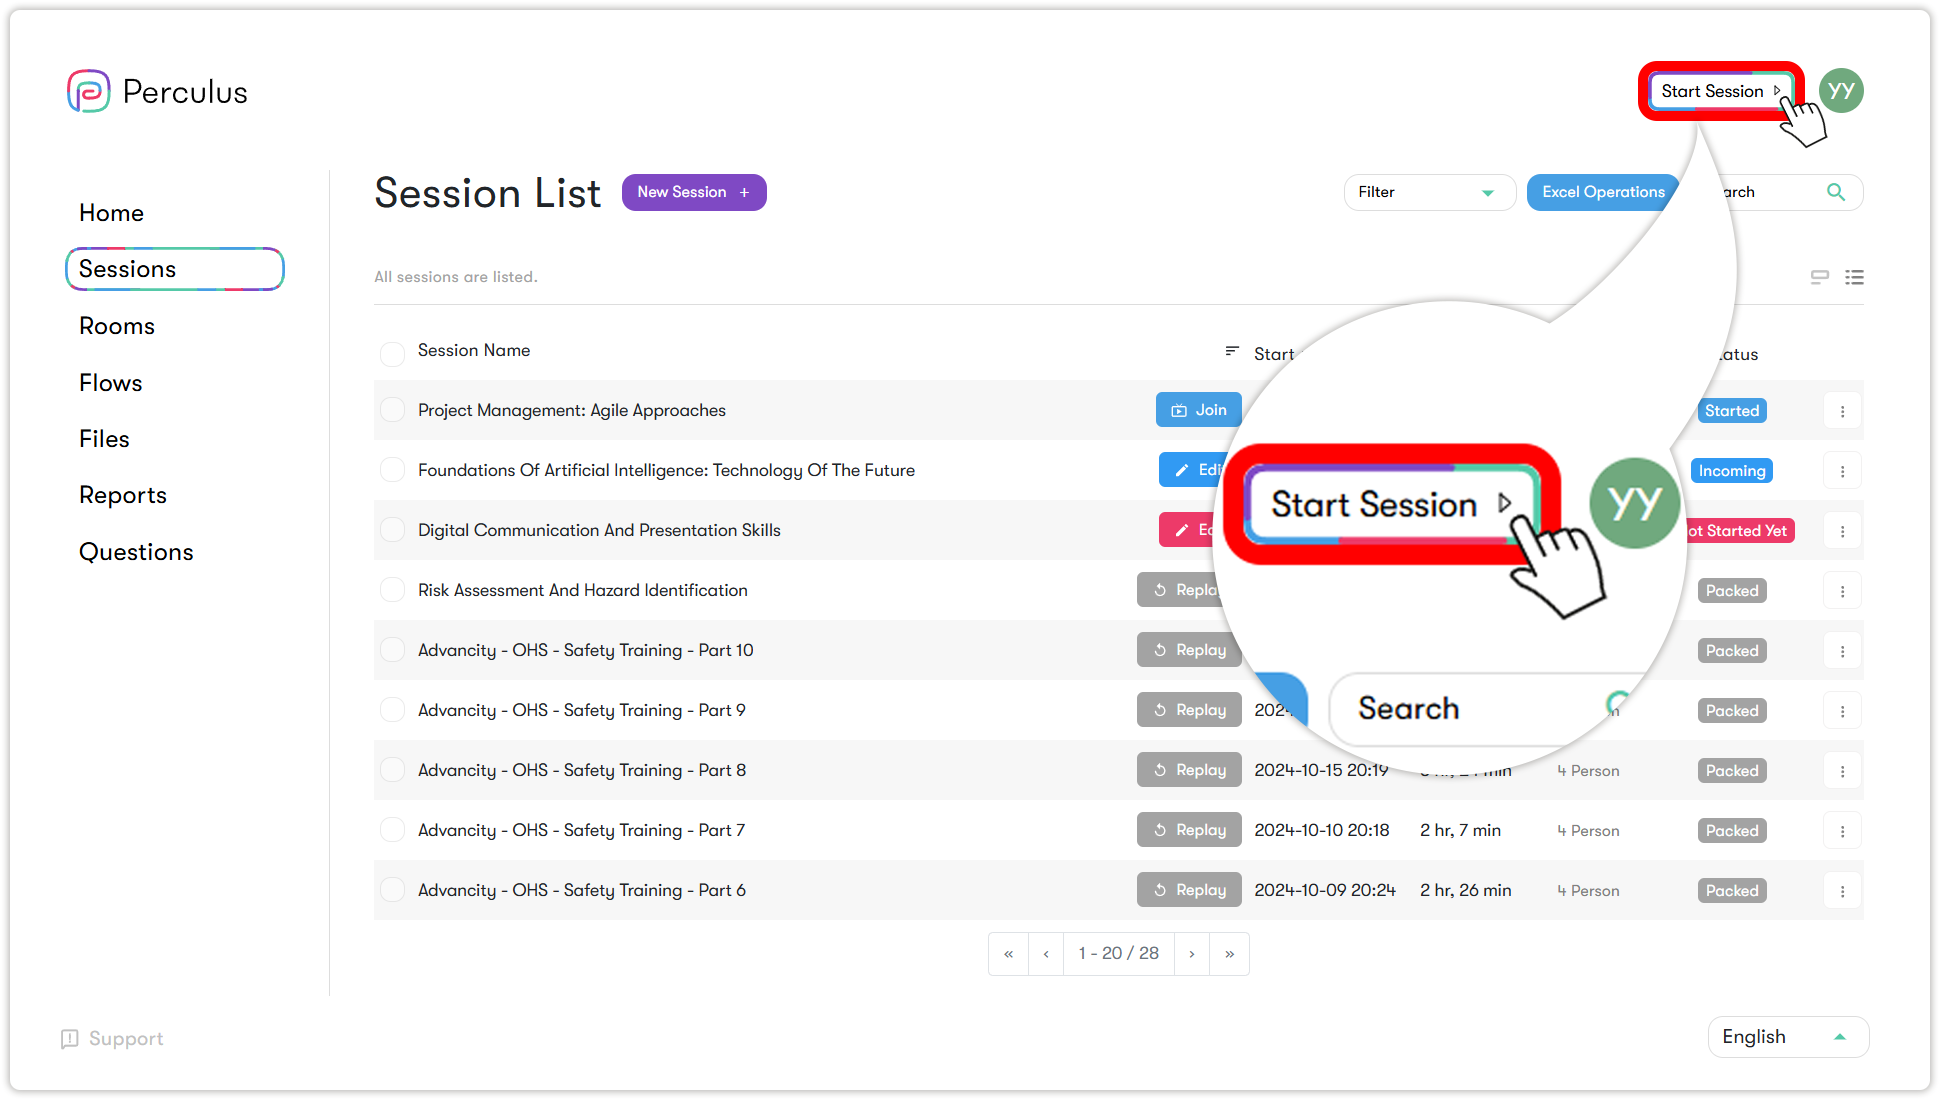
You will be immediately taken to a virtual classroom session. - When you log in, an invitation link appears in the middle of the page. Click the link or the copy button.
- Click on the invitation link (link - URL) or the copy button to share the invitation link with the people you want to join the session.
Participants can register with their first and last names and send a participation request.
For detailed information about virtual classroom sessions see ( Joining sessions or rooms)
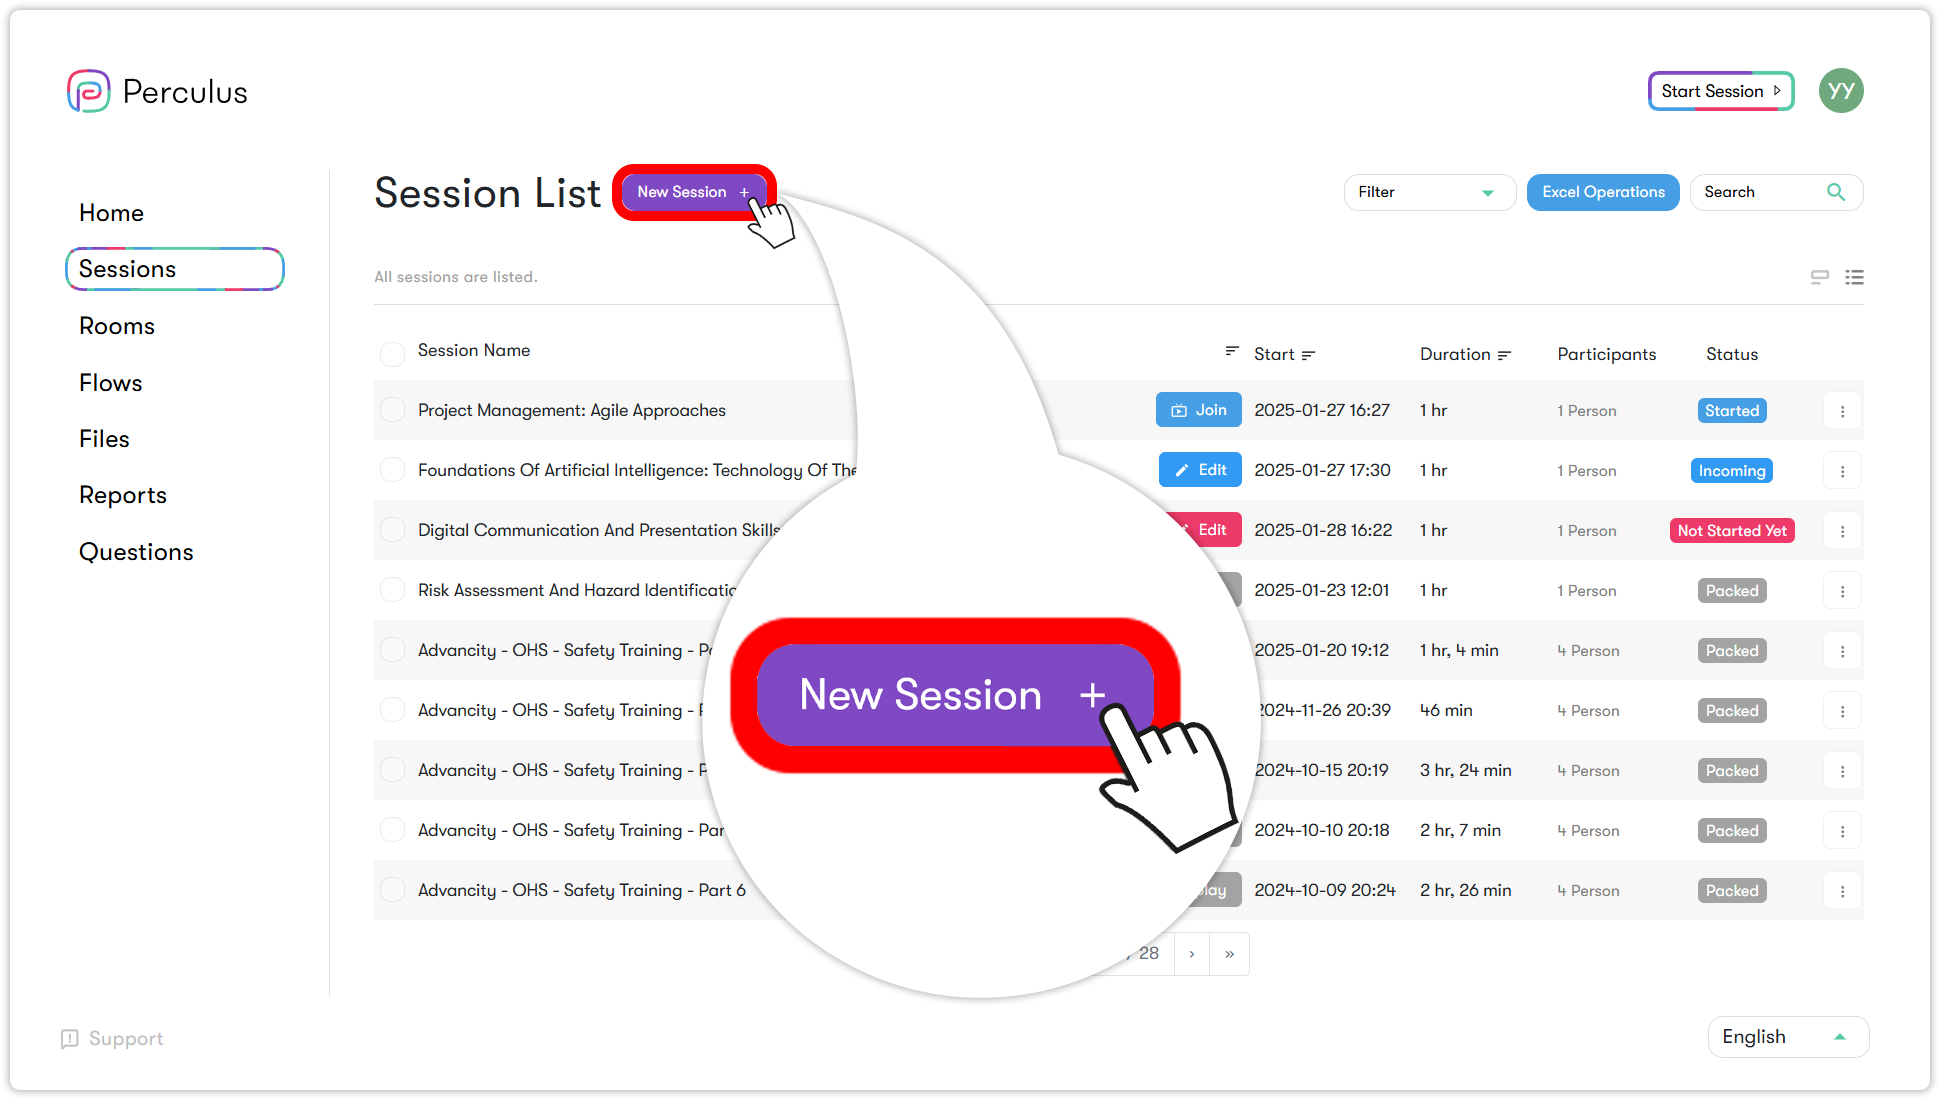
Adding scheduled sessions
To add a scheduled session:
- Click New session to the right of the Session List header.
- Specify the session details:
- Session Name — the name of the session.
- Description — a brief session description.
- Select the session date and time and enter the total duration of the session in minutes.
- Select the session language from the language drop-down list (Turkish, English or Arabic).
- Select Instructor — the session instructor.
- Tag — enter your tags (for multiple tags, press ENTER after each tag).
- Select Flow — select a flow if you want to add the session to a flow.
- Record Session — enable the toggle if you want the session to be recorded.
Note: When Record Session is disabled, sessions will not be saved.
- Restrict Access to Replay — enable the toggle if you want to restrict access to session replays. The participants won't be able to view the replay.
- Repeat session — enable the toggle if you want to make the session recurring.
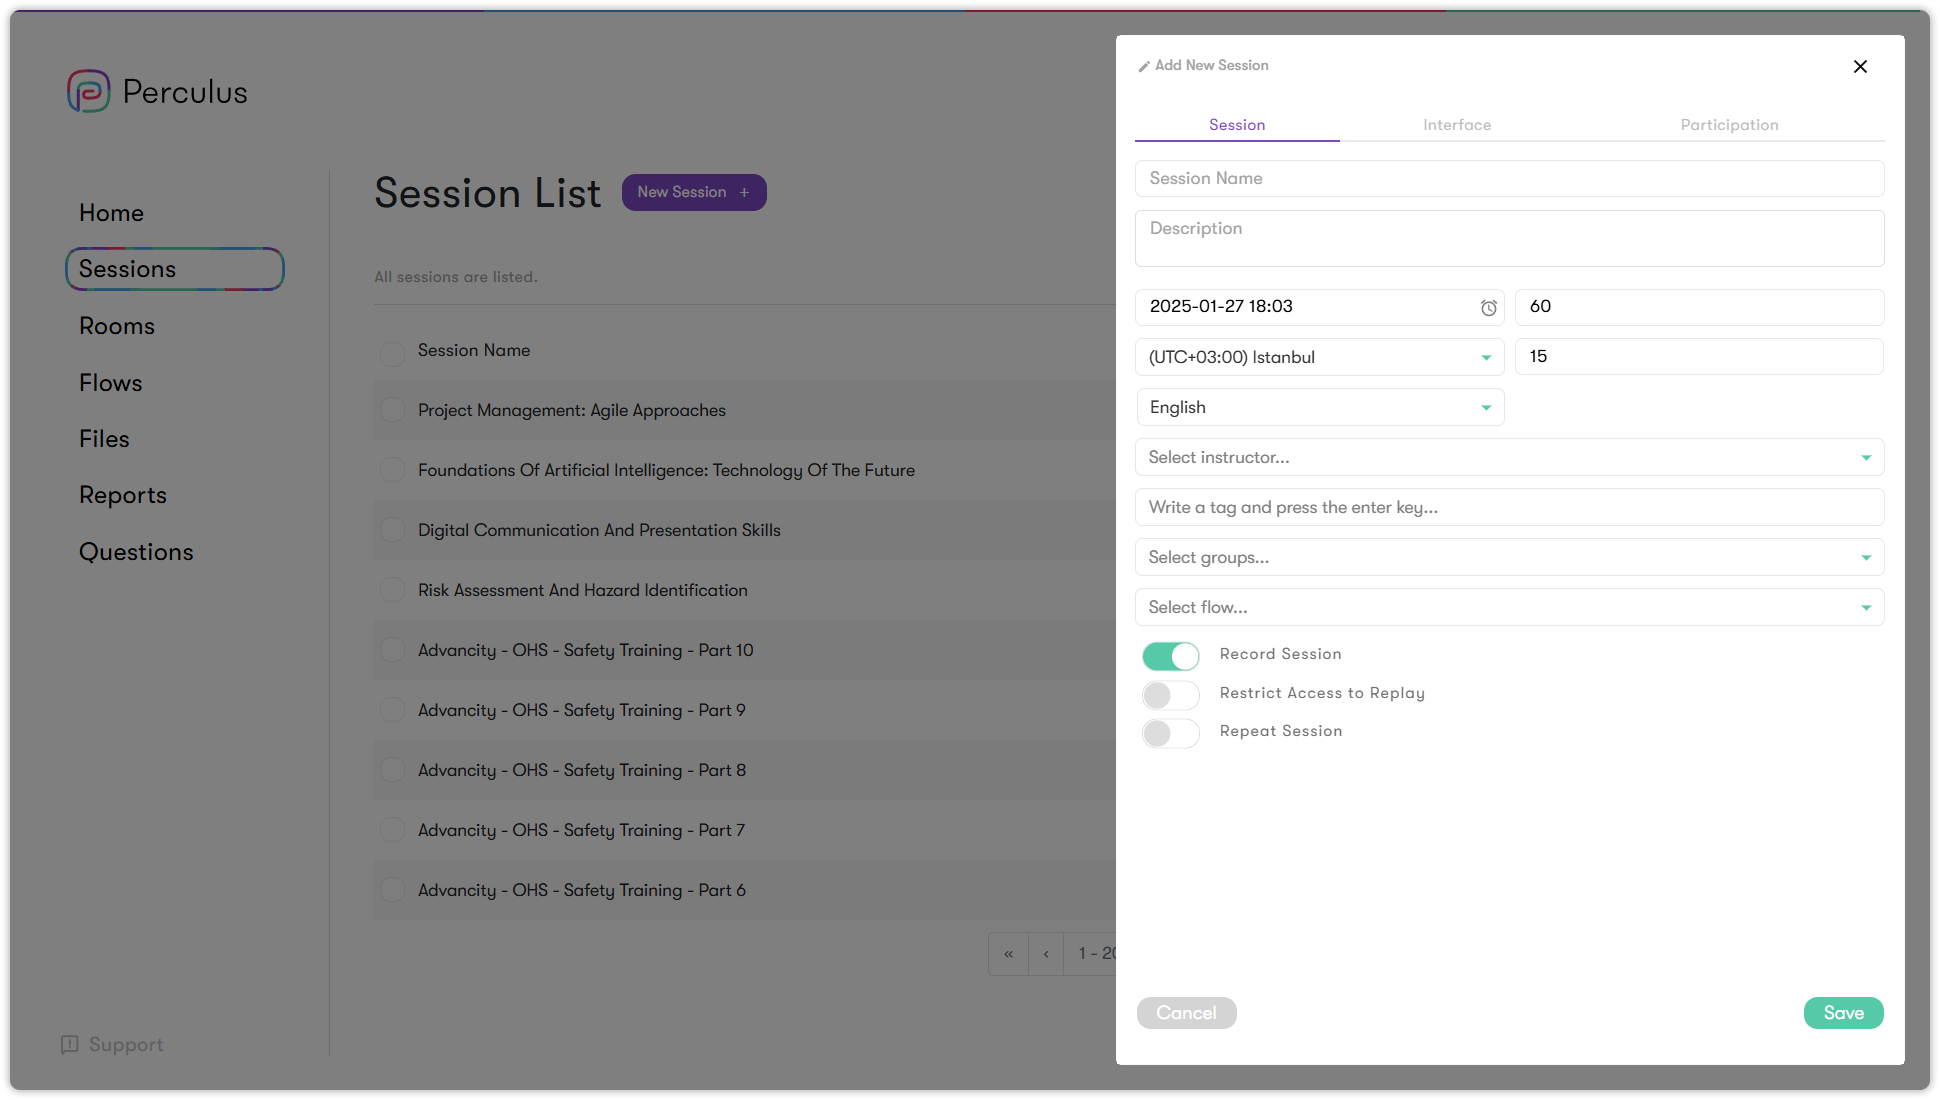
- Click Save. The scheduled session is added to the list, and you can join it when it starts.
For more detailed information about the virtual classroom sessions, see Joining sessions or rooms.
Adding participants to a session
- Click the options icon
 to the right of the session you want to manage.
 - In the menu that opens, click Participants.
- On the Session Participants tab, click Add participant in the top-left corner.
- In the User List, select participants by checking the boxes next to their usernames.
- To add external participants:
a. Click the External participants tab at the top of the window.
b. Enter the participant’s first name, last name, and email address.
c. Click Add to list to add each participant one by one. - When you are finished, click Save and close in the bottom-right corner.
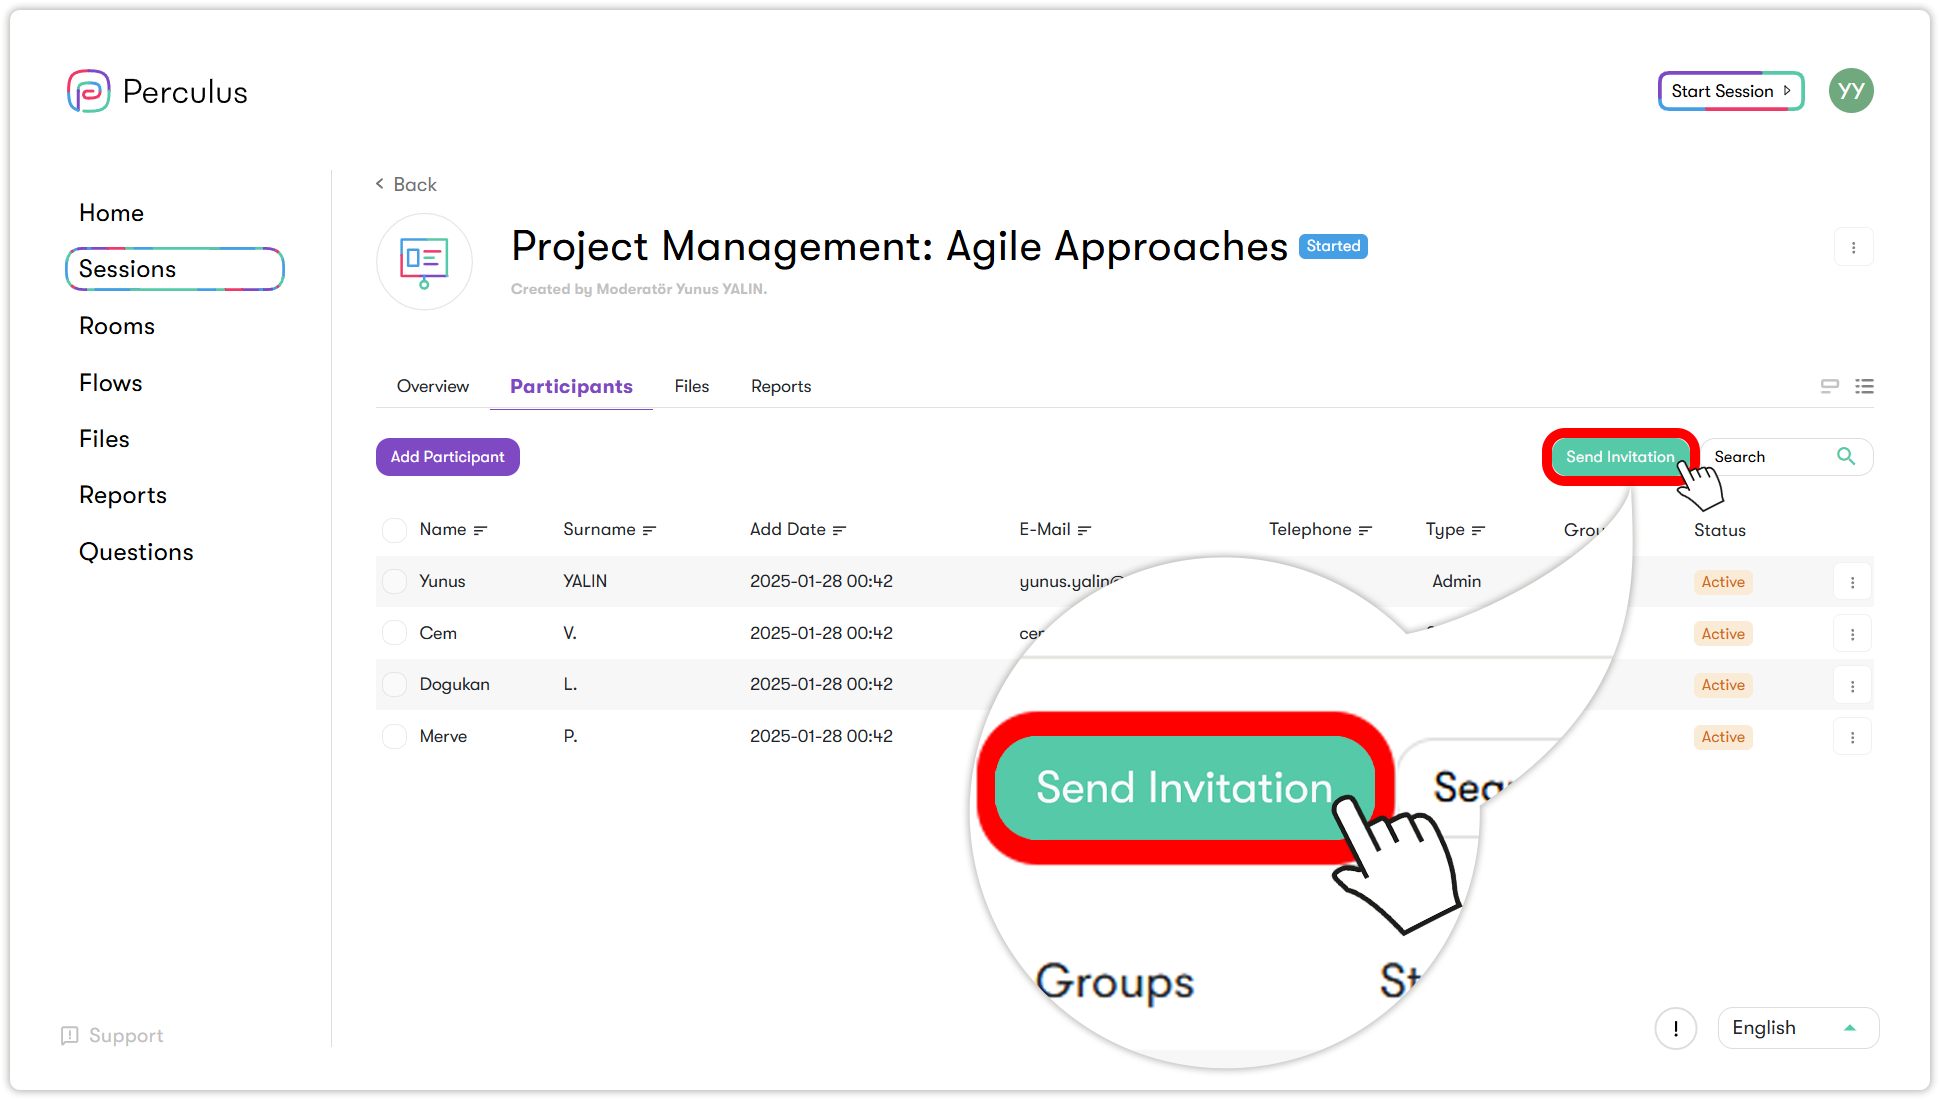
Sending invitations to sessions
To send session invitations to a session, click Send invitation at the top right of the session participant list.