Adding cover images to courses
Adding a cover image to a learning activity (a course or program) improves its visual appeal, helps learners to easily identify the course and better navigate between their courses, and provides a visual representation of the course content. It may also enhance learners' engagement and the course branding.
Before adding a cover image, prepare a JPG or PNG file with the maximum size of 10 MB and resolution of 680x382 pixels or higher.
To add a cover image to a course:
- In the LMS management portal, click
 in the upper-left corner.
 - Go to Teaching > Course.
- In the courses list, double-click the required course to start editing.
- Switch to the Properties tab.
- Scroll down to the Cover image section.
- Either select a local file or specify the URL of an image.
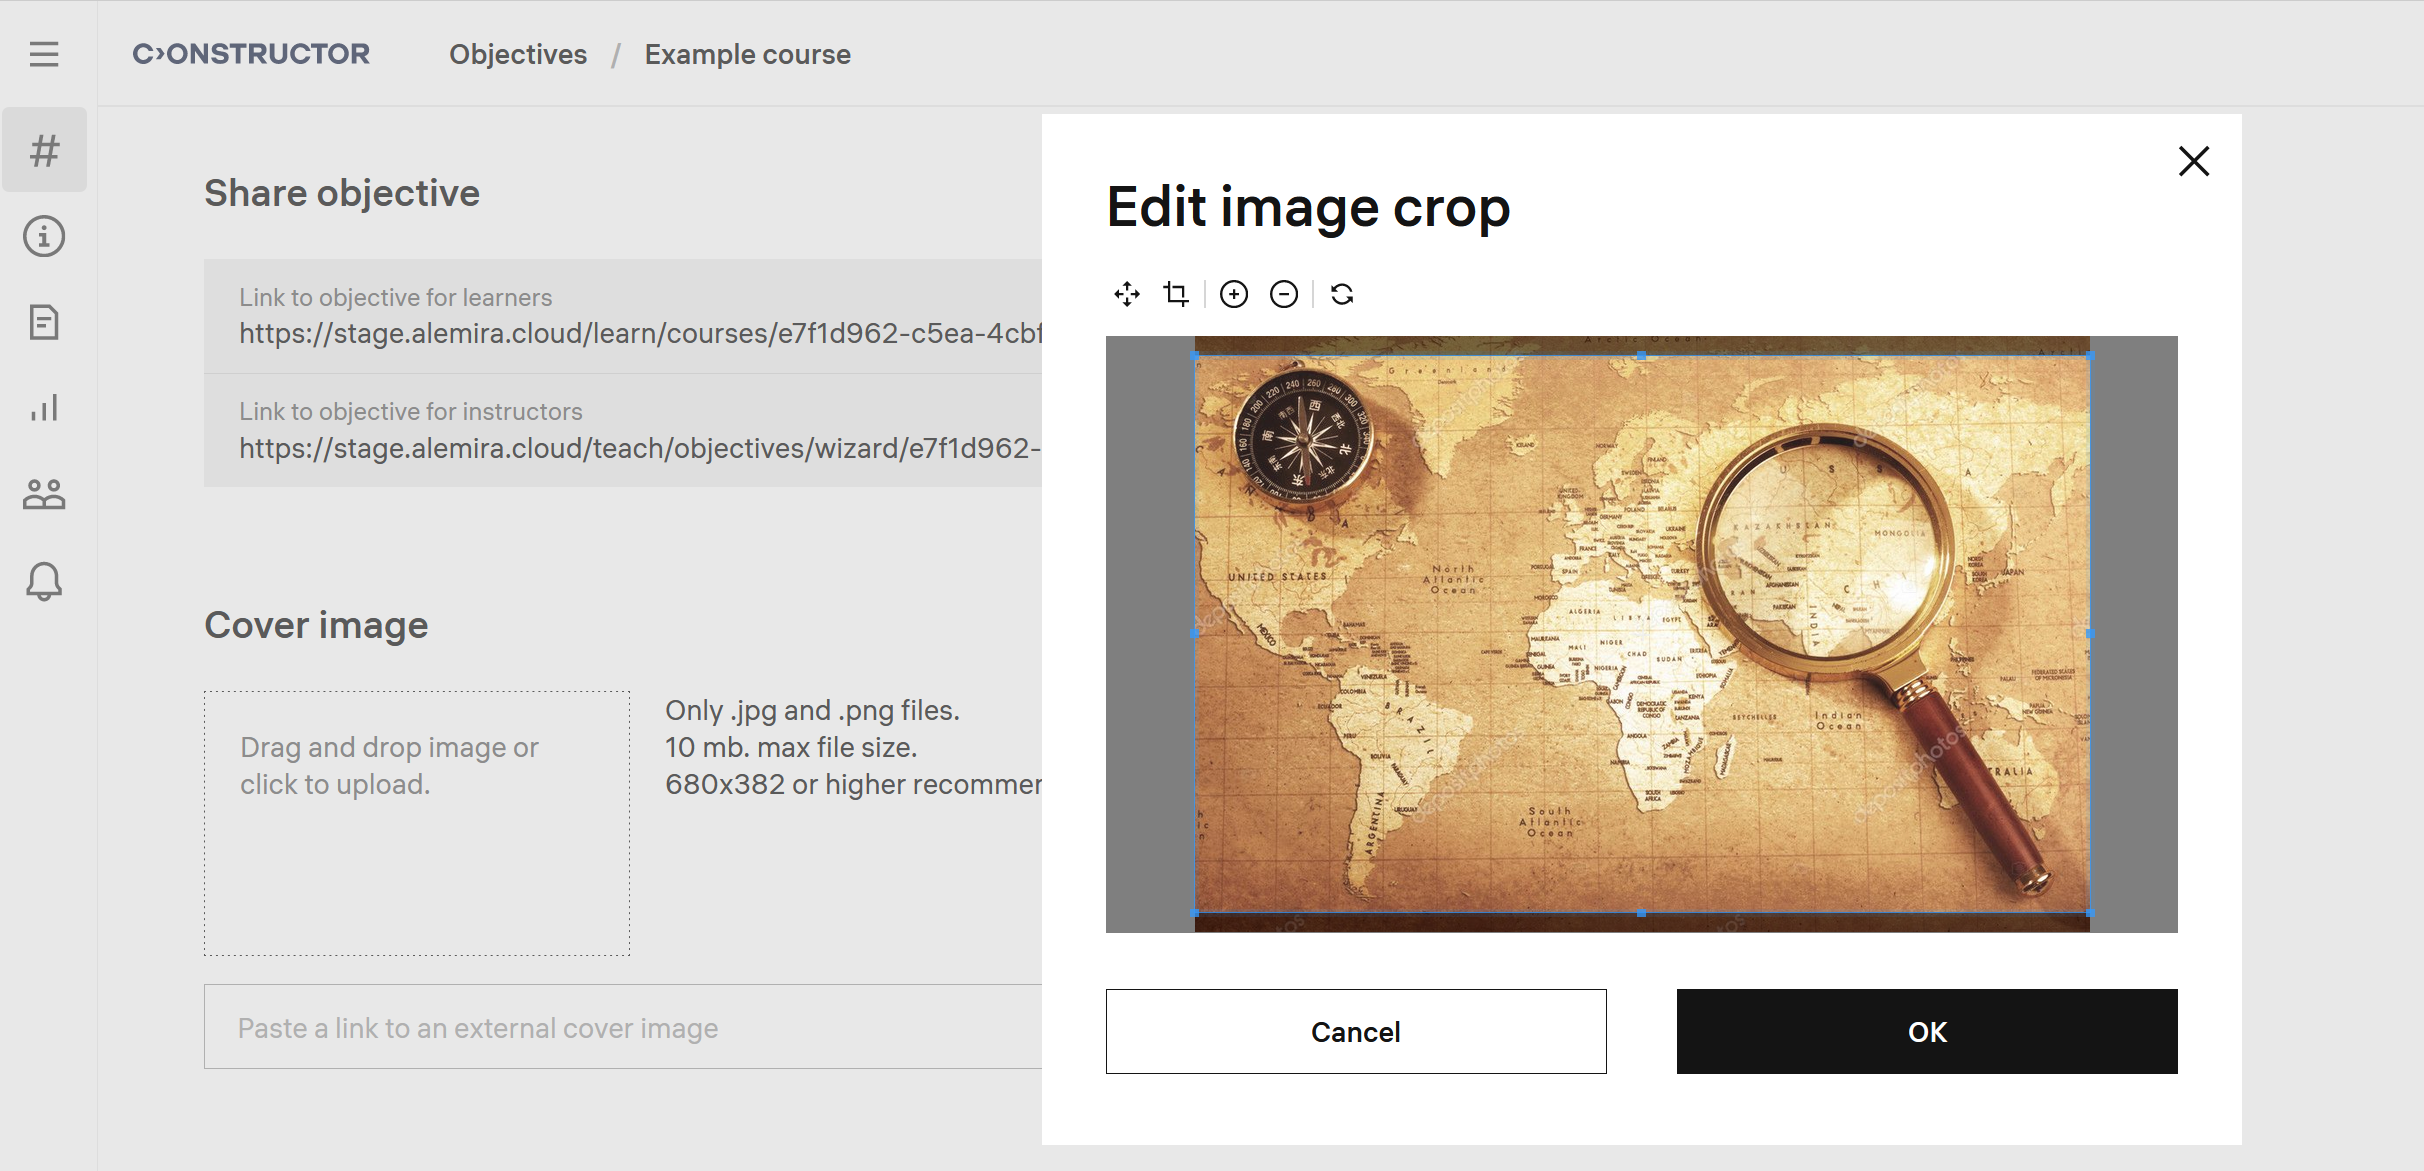
- If necessary, use the toolbar to adjust the image:

- Click Save. The course will be displayed in the course catalog and learners' course lists with the added cover image.