Adding images to STEM components
To add an image to your STEM component, you first need to add it to the component repository and then to specify the image URL in the respected place of the STEM article text.
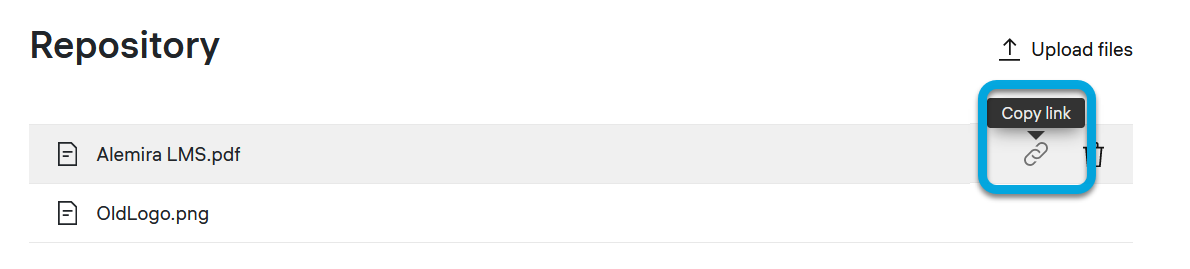
To insert an image into a STEM component:
- If necessary, add the image file to the STEM component repository as it's described in Adding attachments to STEM components.
- Copy the URL of the added image.
- Switch to the Editor tab.
- In the Article field with the HTML content, insert the copied URL as the src attribute of the
tag in the place where you want to put the image (or where the image tag has already been inserted).
Example
| [Copy Code](javascript:void(0)) HTML |
<figure class="w66"> <img src="https://storage.googleapis.com/prod-alms-ztool-public/46F09F8DE59B4C3DA7A4C5E9FAFBD2C4/elements/e3486b71-a220-40af-9db0-e82e00f5eda3/textbook/Example_Image.png" /> <figcaption>fig. 1</figcaption> </figure> |
- Click Save.
- To ensure that the image is displayed correctly, click Preview.