Creating Multiple choice questions
In a Multiple choice question, learners need to select one correct option from a list of given answers.
To create a Multiple answer question:
- In the LMS management portal, click
 in the upper-left corner.
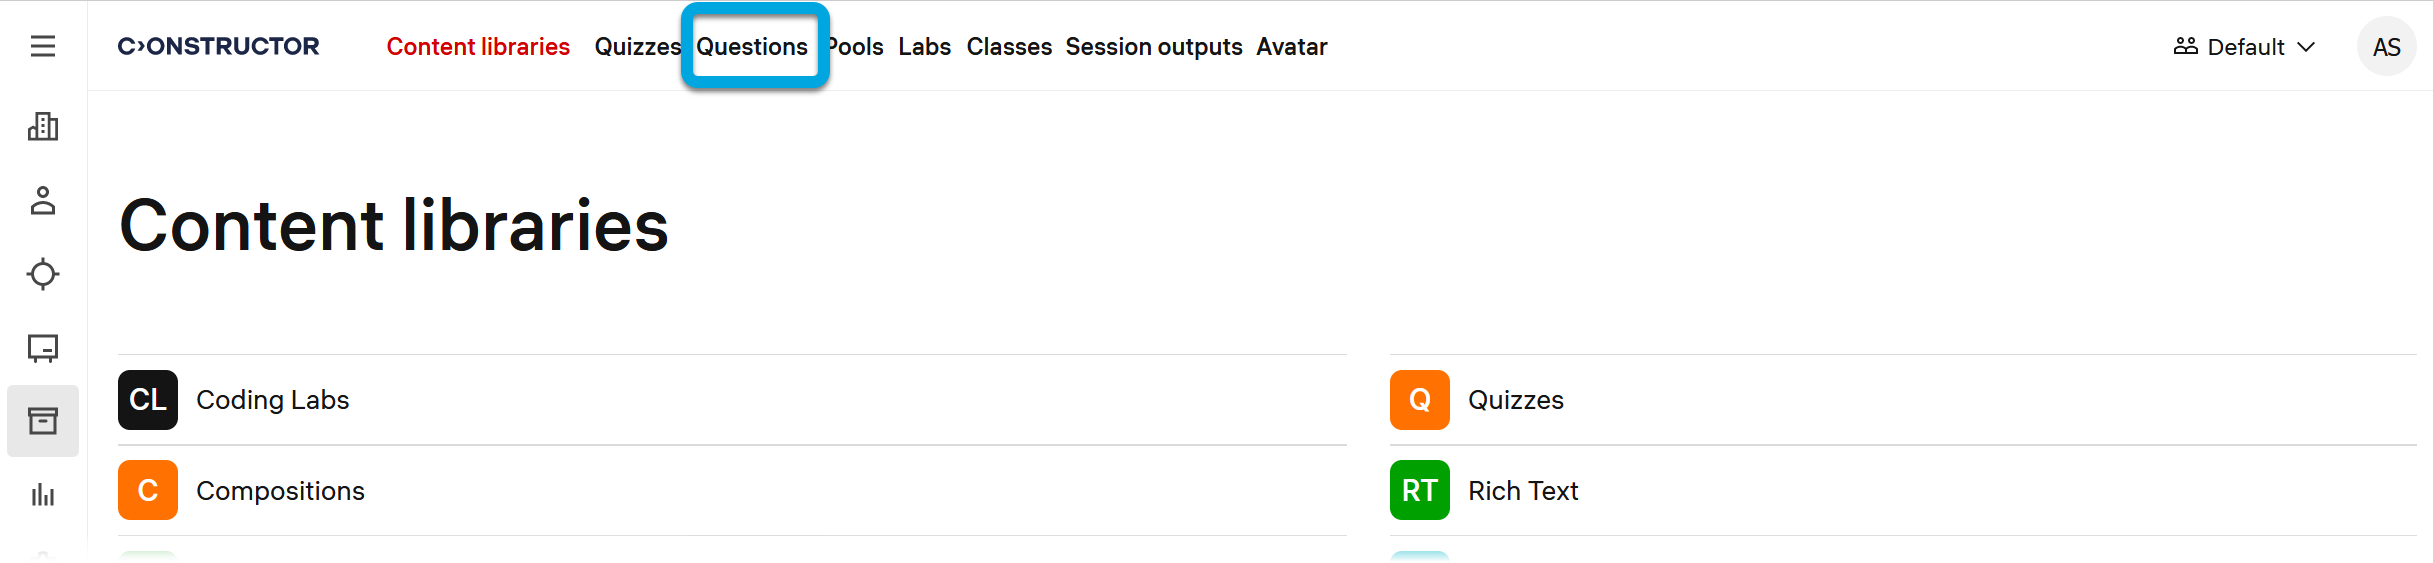
 - Go to ****Authoring >Questions. A page with available pre-configured libraries will open.
- Click the plus button
 .
.
Specify these parameters:
- Title — specify the question title. The title is not displayed to learners, you can use it for your convenience to ease the questions search.
- Usage type — leave the default value, Quiz, to use the question in quizzes and exams.
- Type — select Multiple choice.
- Click Create.
- Specify the further question details:
- Question — enter the question text or add other medium containing the question. See Configuring questions for more detail.
Answer options:
Option 1, Option 2, and so on — enter the answer options. For the correct answer, select the Correct box.
If you need to add more options, click the plus button .
Feedback and hints:
If necessary, rewrite the default text for the following fields:
- Feedback on correct answers — the feedback that will be displayed to learners when all their answers are correct.
- Feedback on incorrect answers — the feedback that will be displayed to learners when all their answers are incorrect.
- Feedback on partially correct answers — the feedback that will be displayed to learners when part of their answers is correct.
- General feedback — the default version of a short comment to the learner on the question as a whole.
- Hint 1 — enter the text of a hint that will help learners to find the correct answer.
If you need more hints, add them using the plus button .
Meta settings:
Specify question parameters for a better search and questions sorting.
- Domain — a domain to which the question belongs.
- Topic — a topic to which the question belongs.
- Difficulty — the question difficulty level.
- Tags — tags that are applicable to the question. Use commas to separate tags.
- Click Save.
You can preview what the created question looks like. See Previewing questions.